Jump to:
2e. Viewing & Editing Completed Schedules
Tip: Visit the Submitting Schedules without 'Clock In/Clock Out' (no EVV) article for non-EVV and non-clock in/out schedule instructions.
1. Login to the Billiyo for Caregiver App
- Enter the Username and Password connected to your User Account.
- You can create a user account using the mobile app (see Register below) or ask your administrator to create it for you through User Account.
-
Note: You can ask your administrator to create a user account for you following this User Account link.
2. Home Screen
a. Select and View Client
-
- If you work for more than one client/patient, you will need to make sure the correct client is selected.
- You can filter clients through the Filter
 icon in the top right corner of the screen.
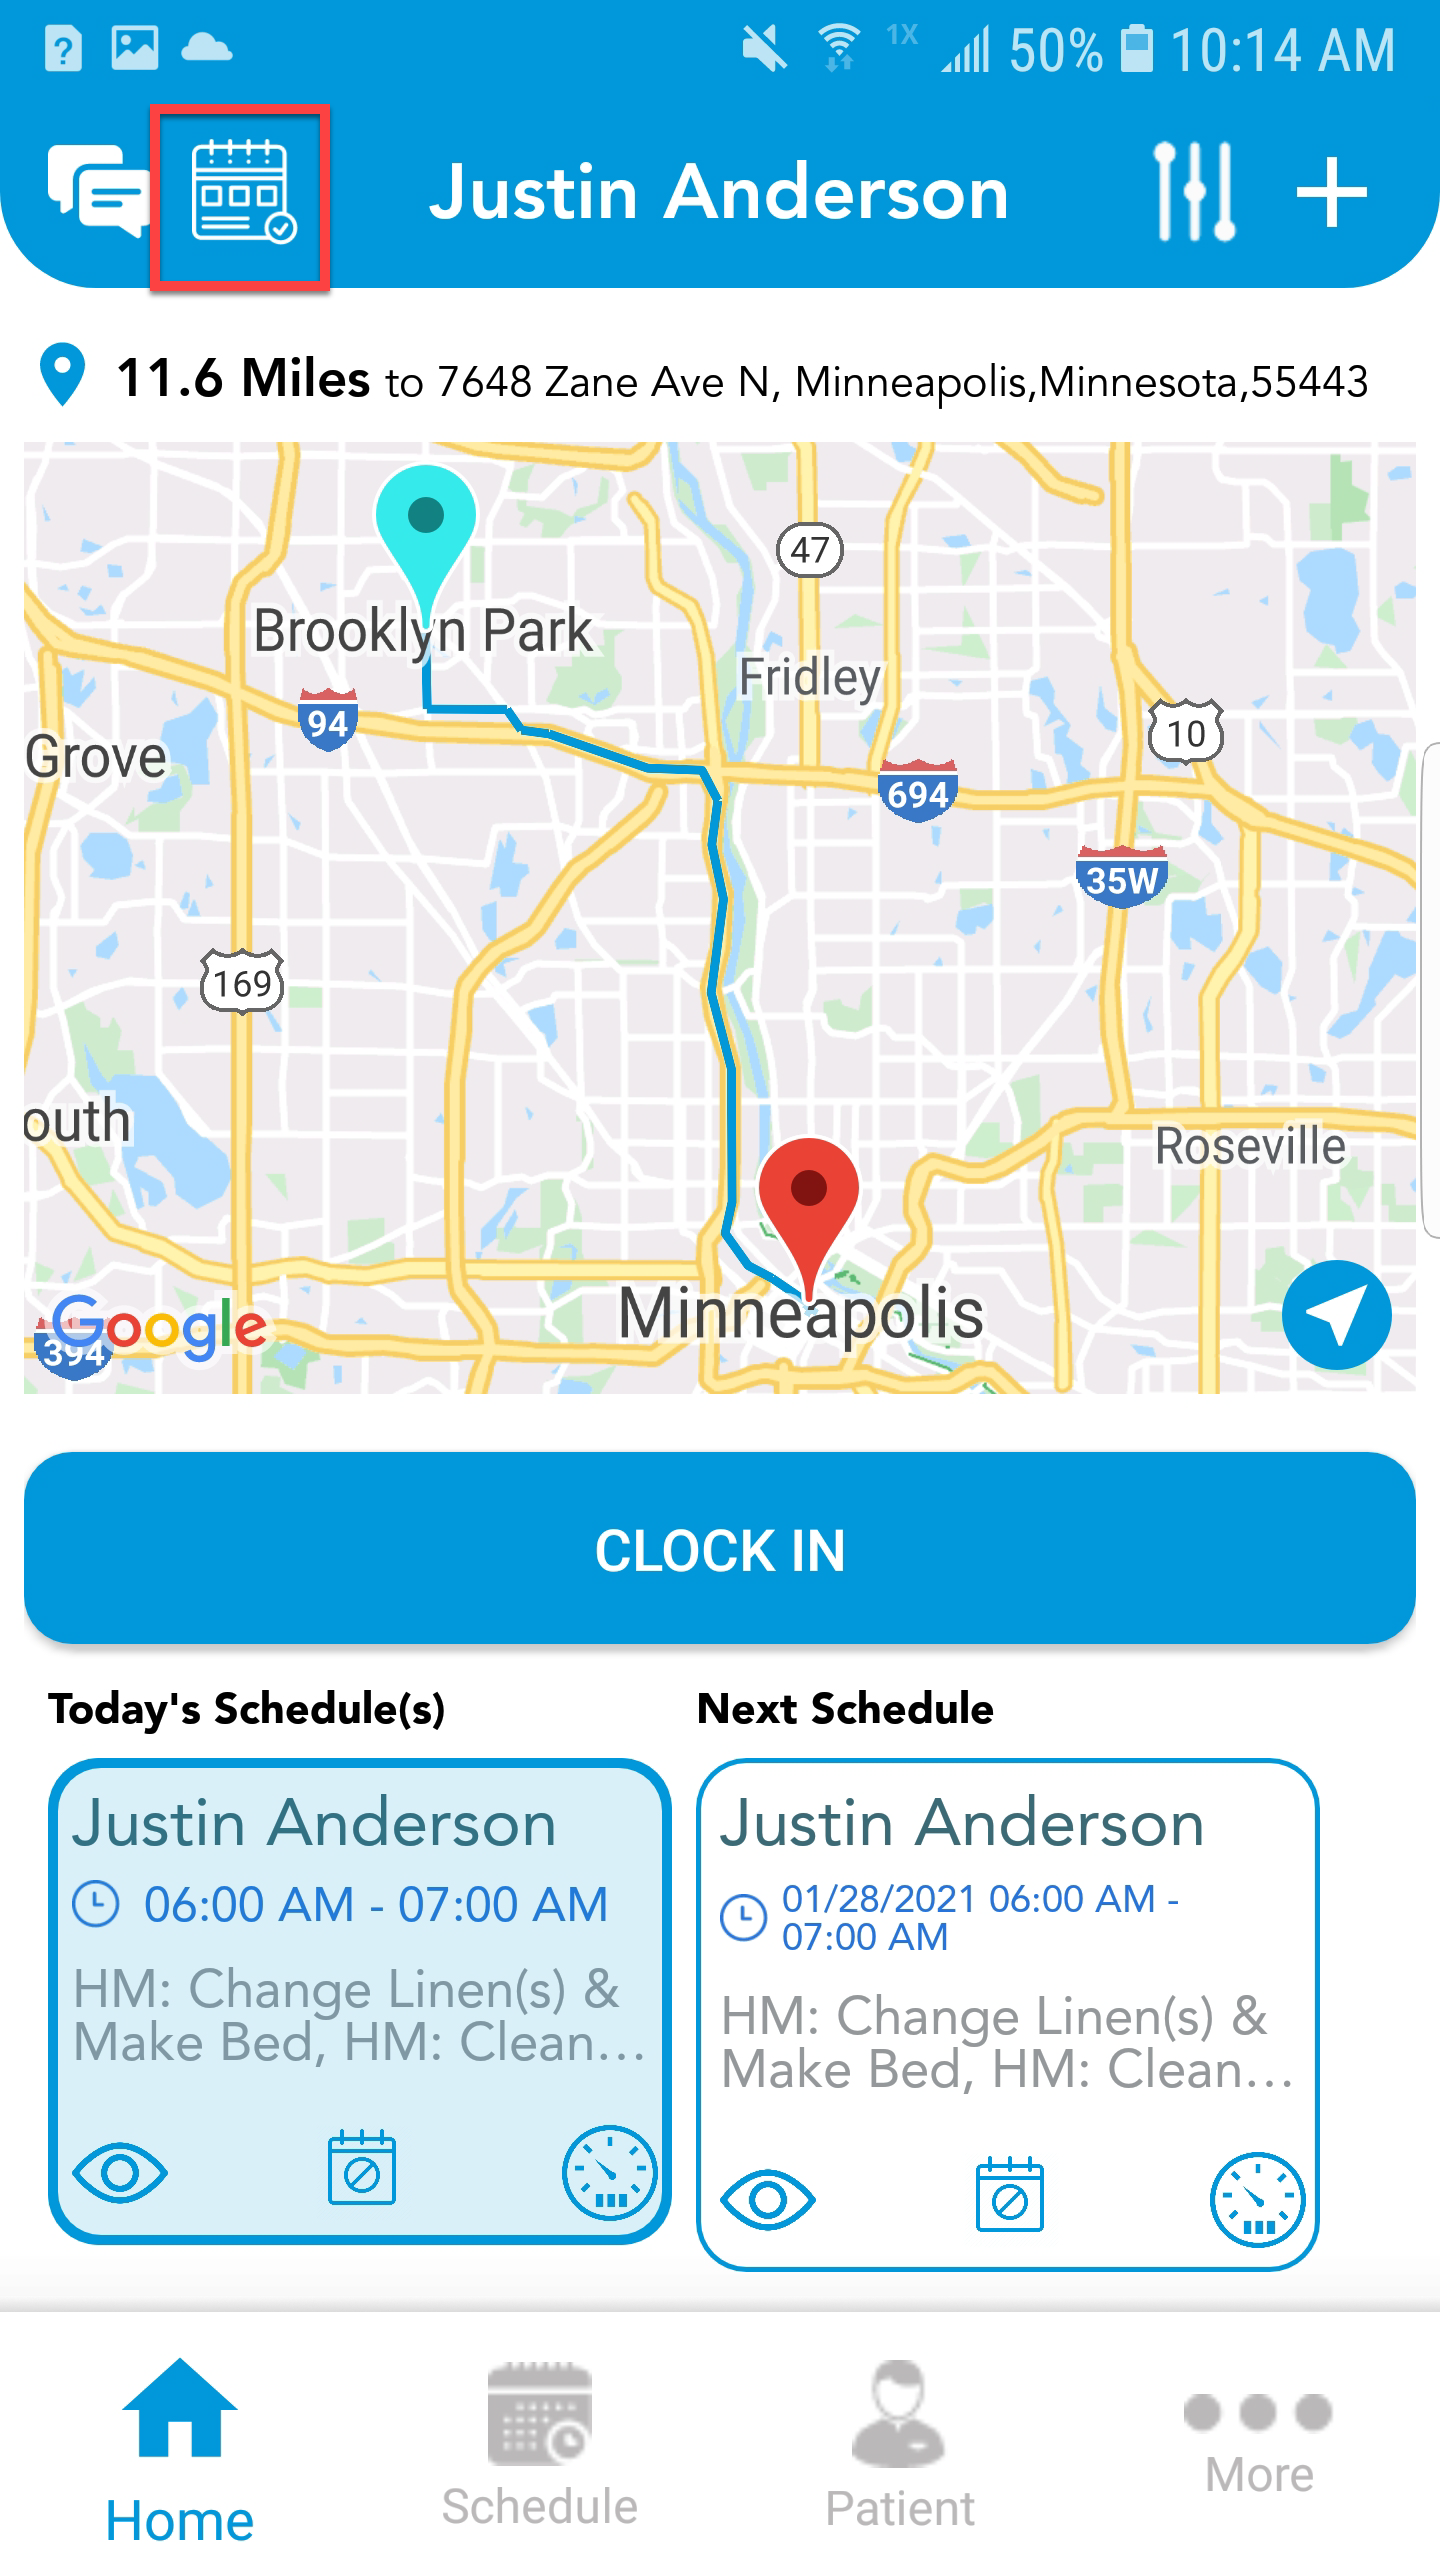
b. Clocking In
-
- If you have an appointment on the schedule, the blue 'Clock In' button with appear at the bottom of the Home screen.
- Tap the blue 'Clock In' button. You will be asked to confirm your intent to clock in.
Warning: If you forgot to clock out from a previous appointment, you will be asked to clock out before clocking in for a new appointment.


-
- You may also see several icons within the client appointment cell:
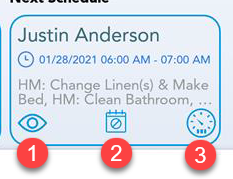
 Tap to view schedule details for the appointment. Here you will see the scheduled start and end time, and services to provide according to the care plan.
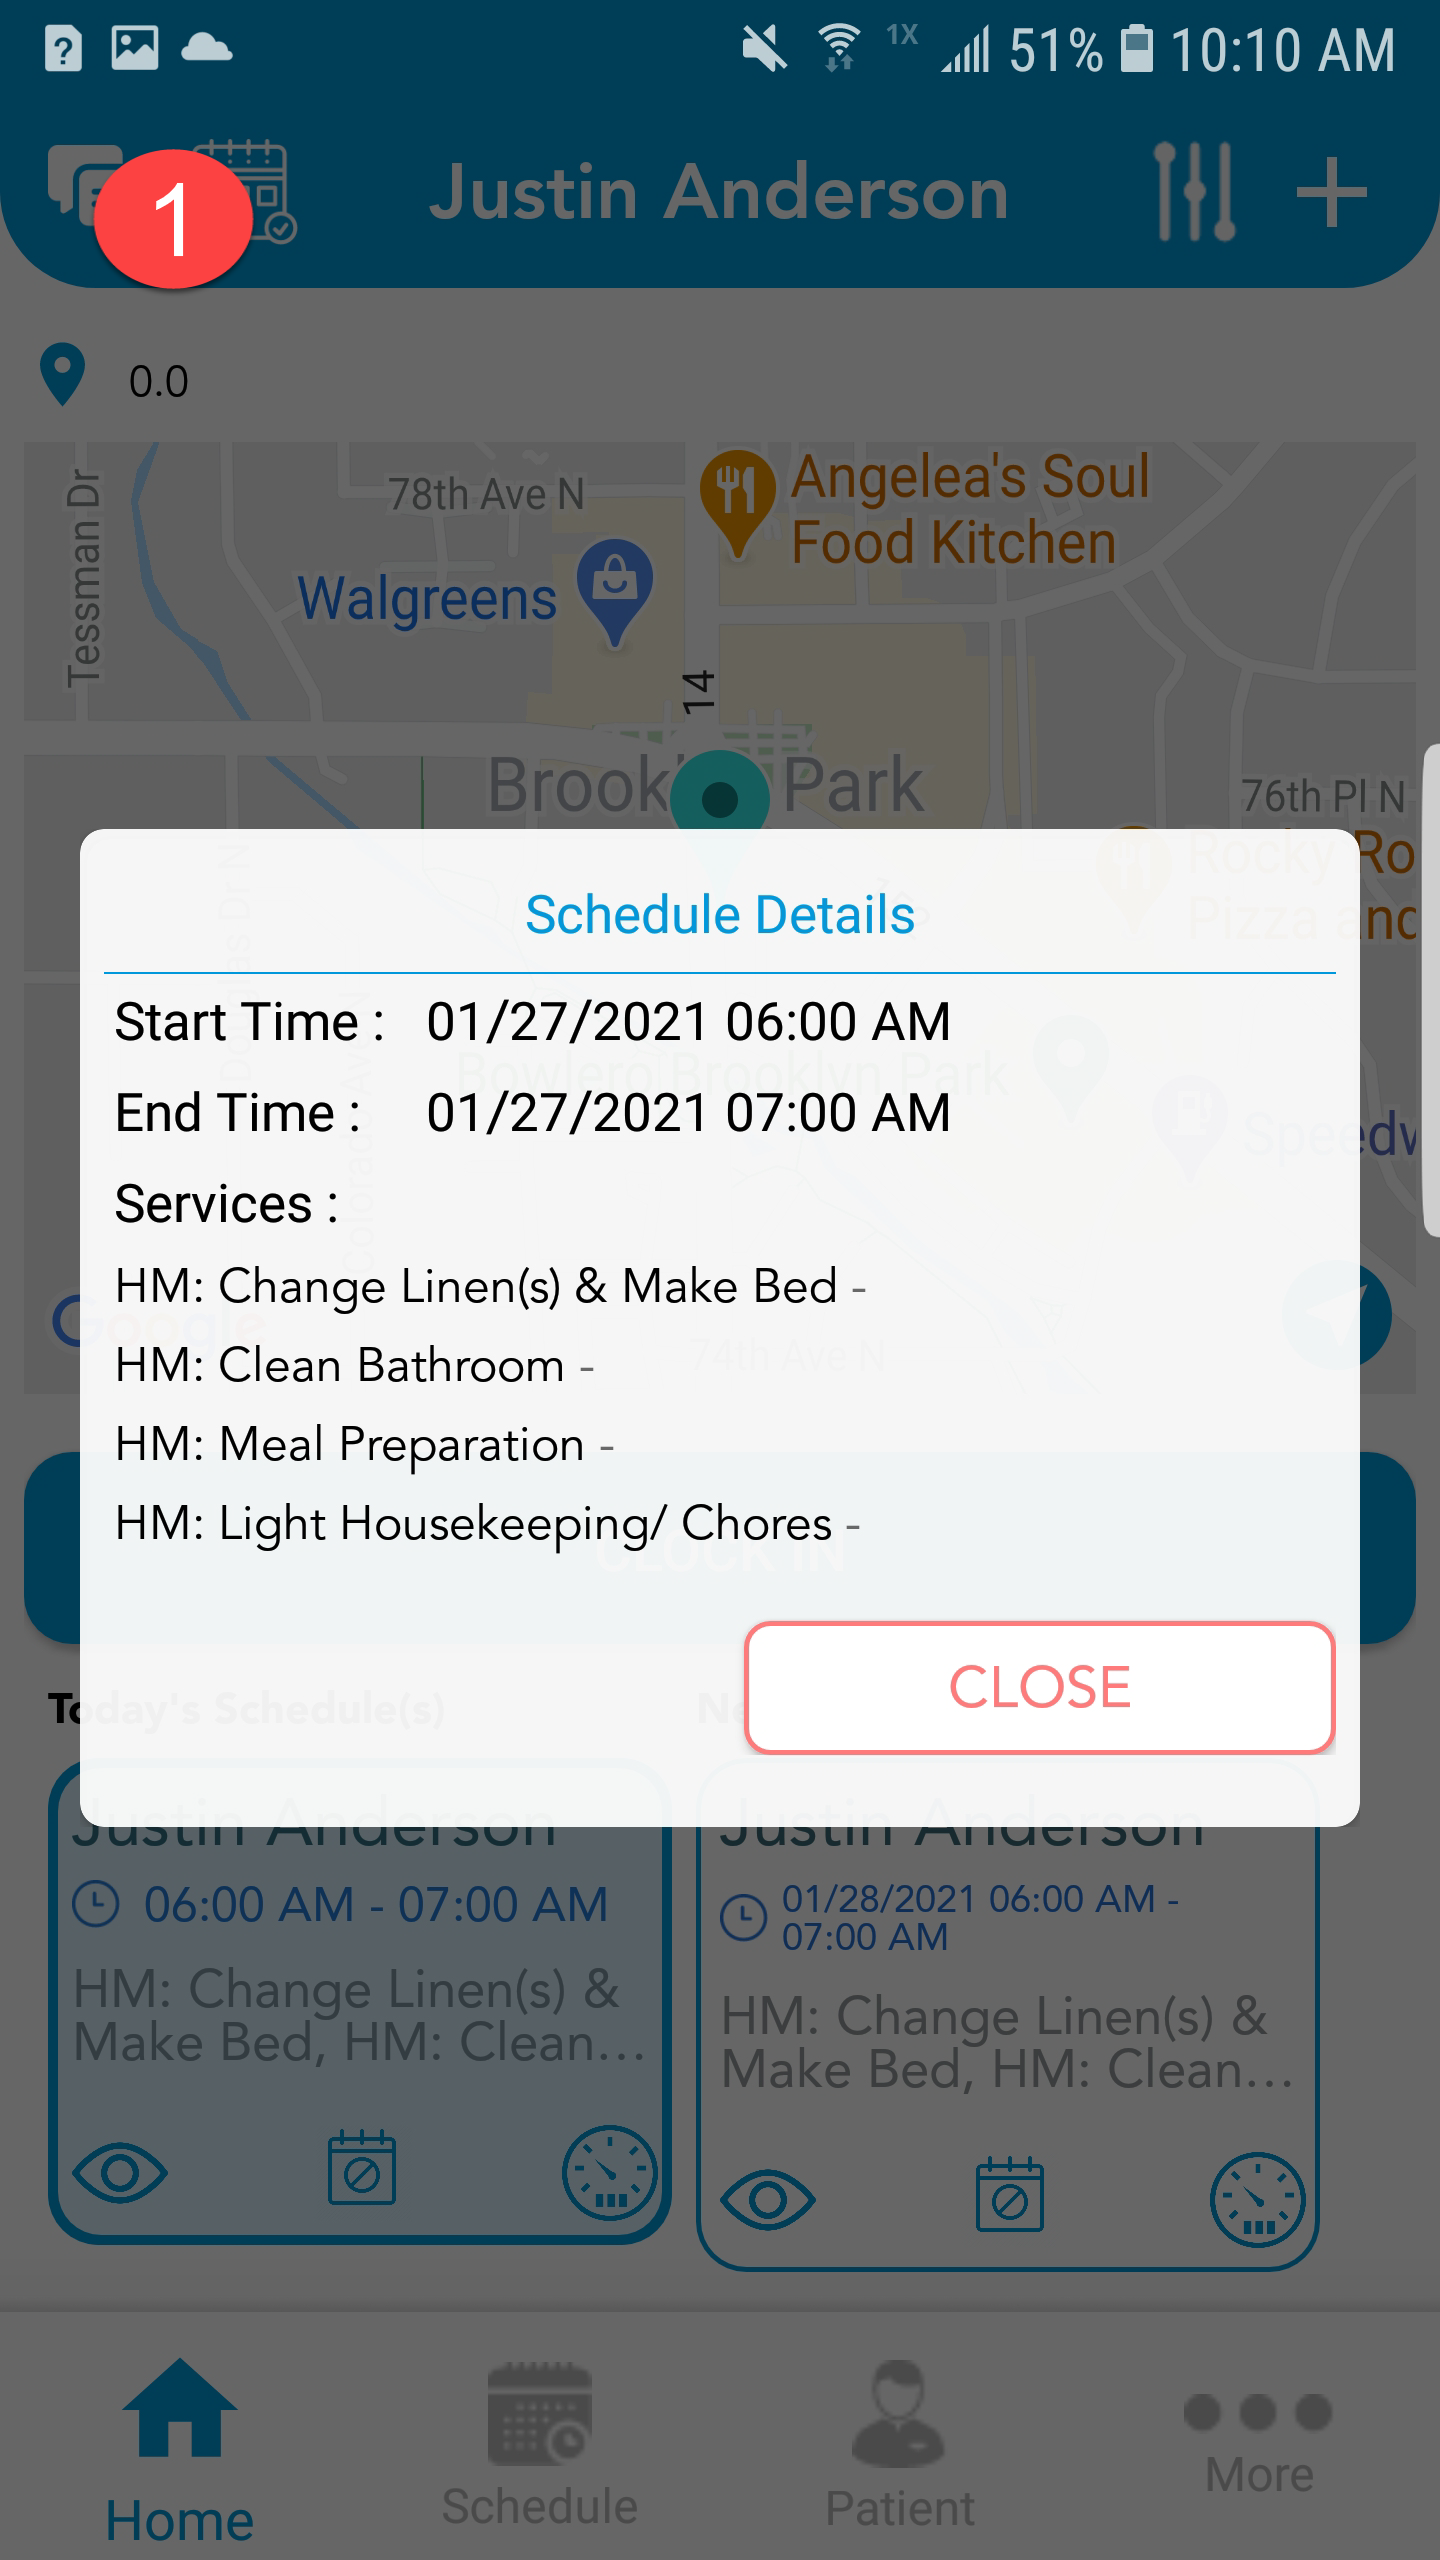
 Tap to cancel the appointment. You will be prompted to choose a cancelation reason (i.e. hospitalized, client canceled, etc.) You can provide additional details in the comment box.
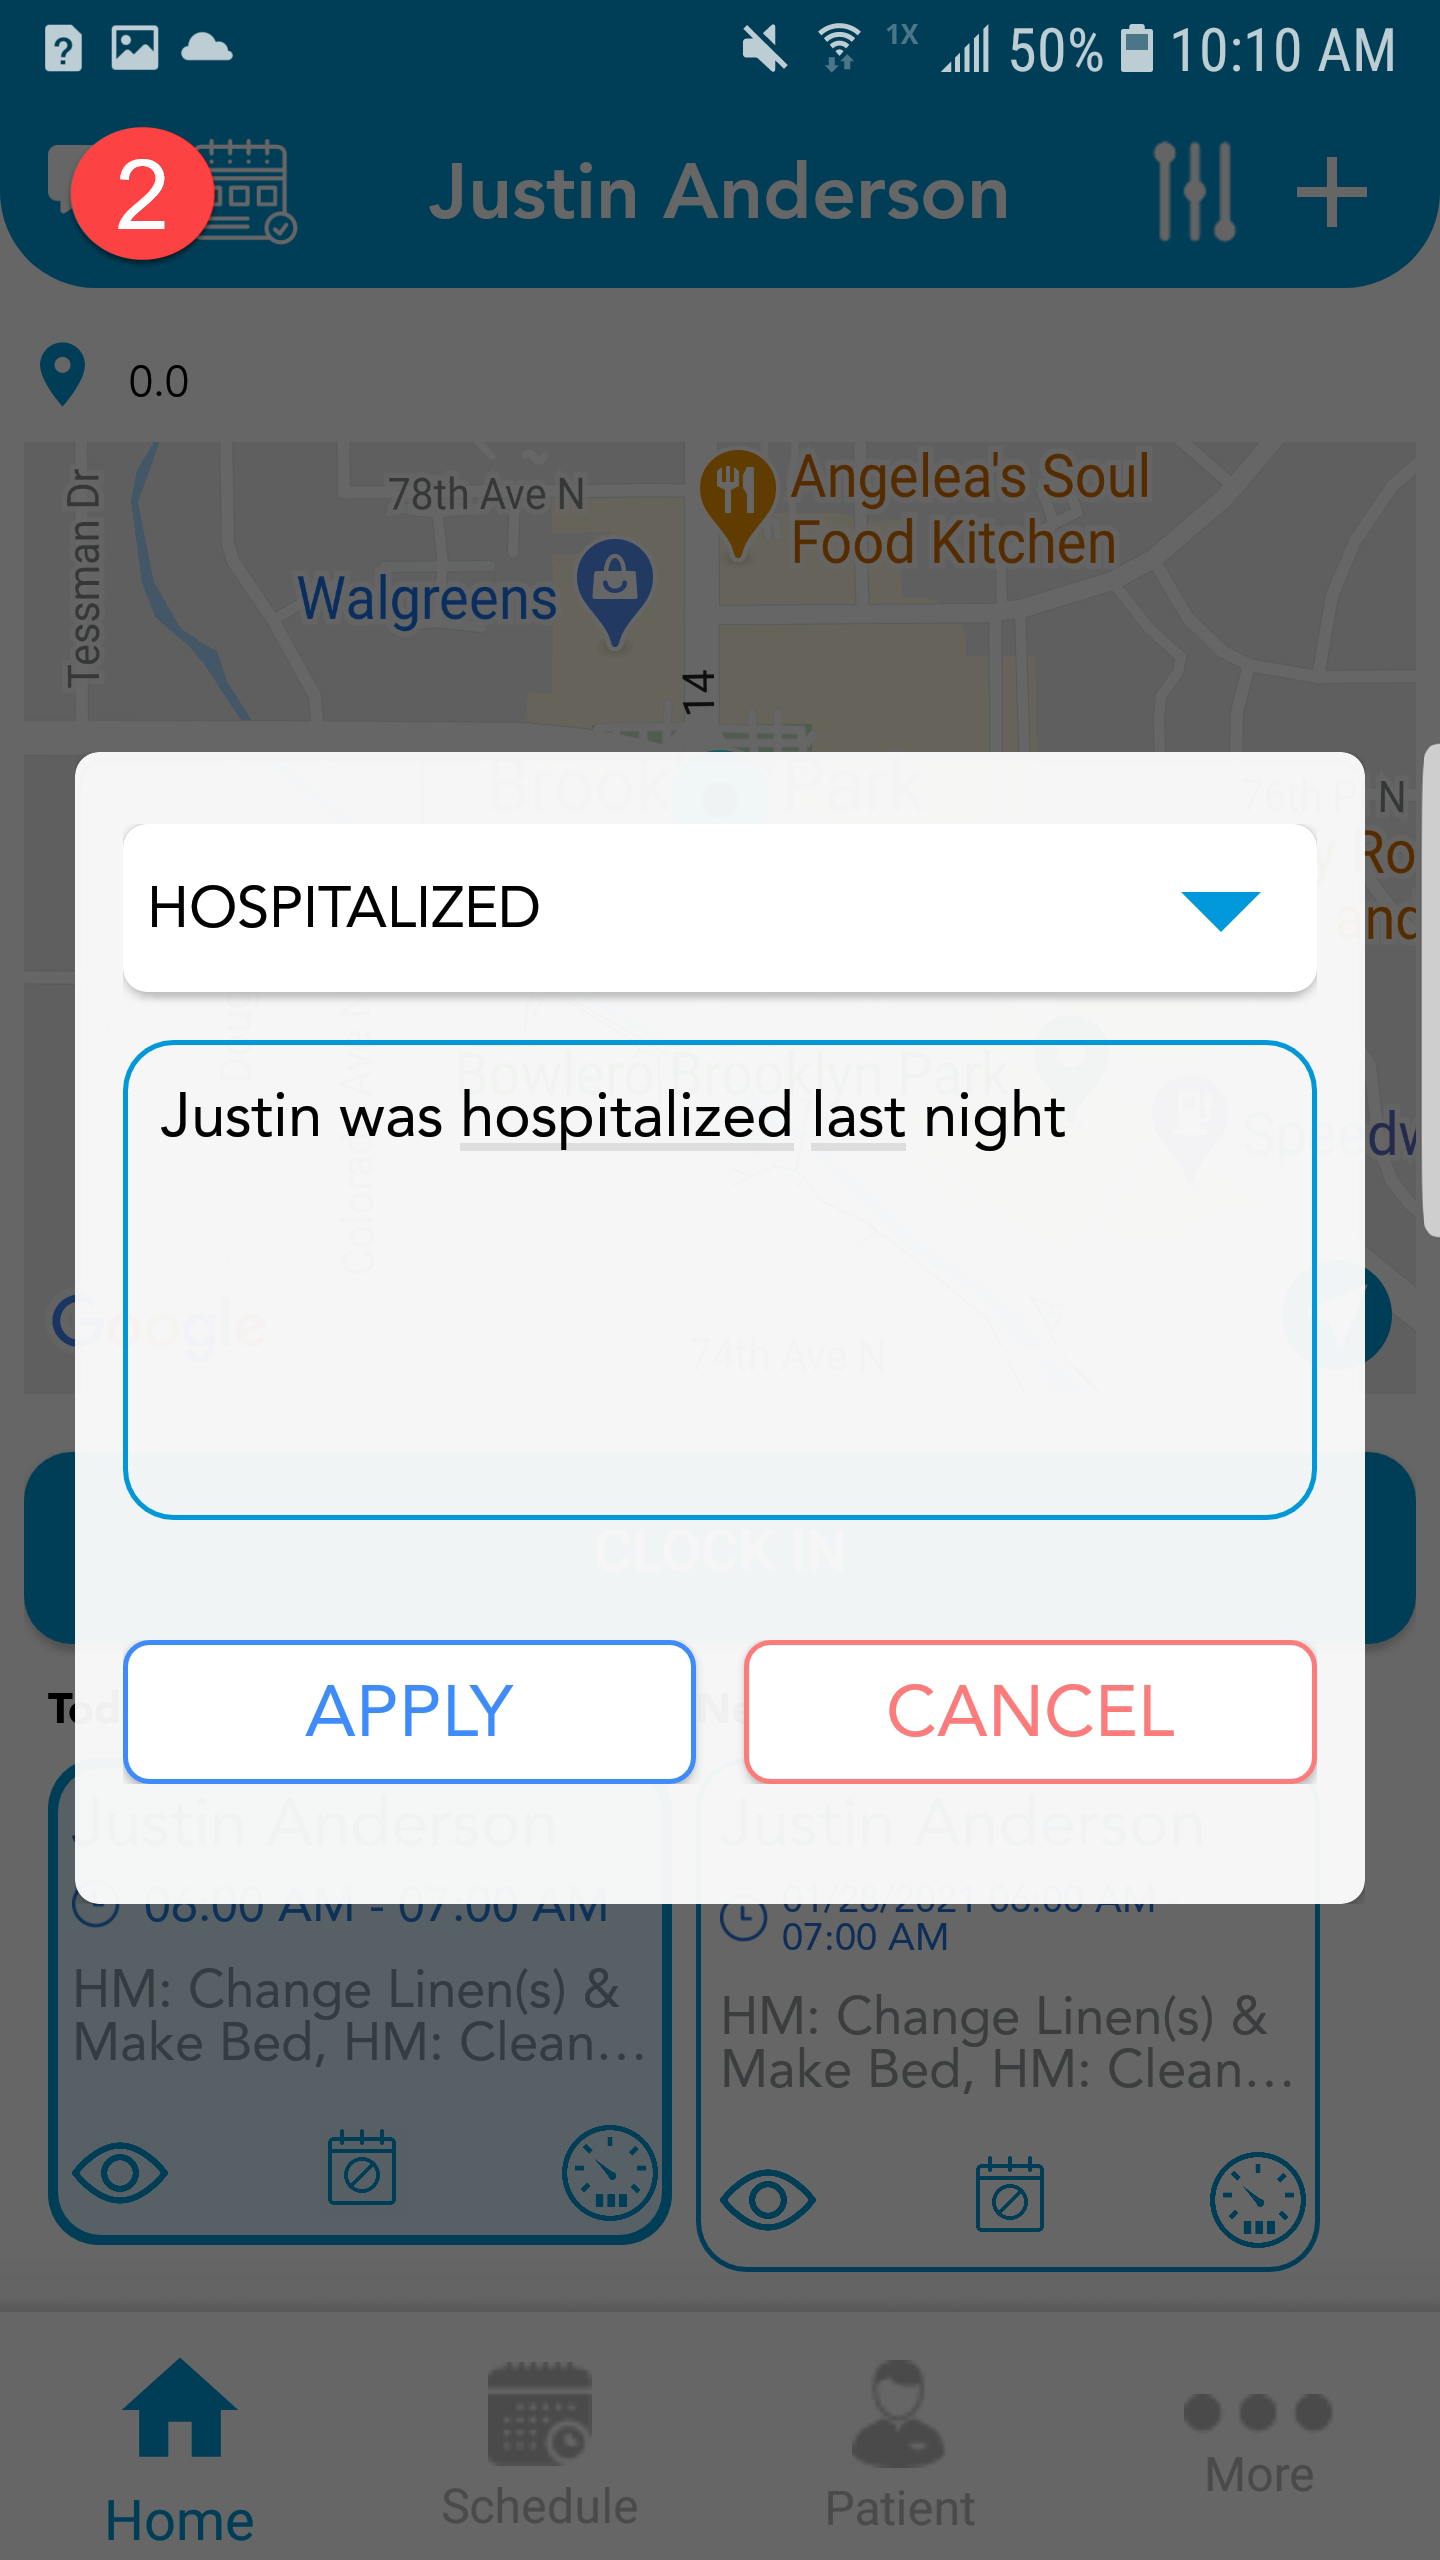
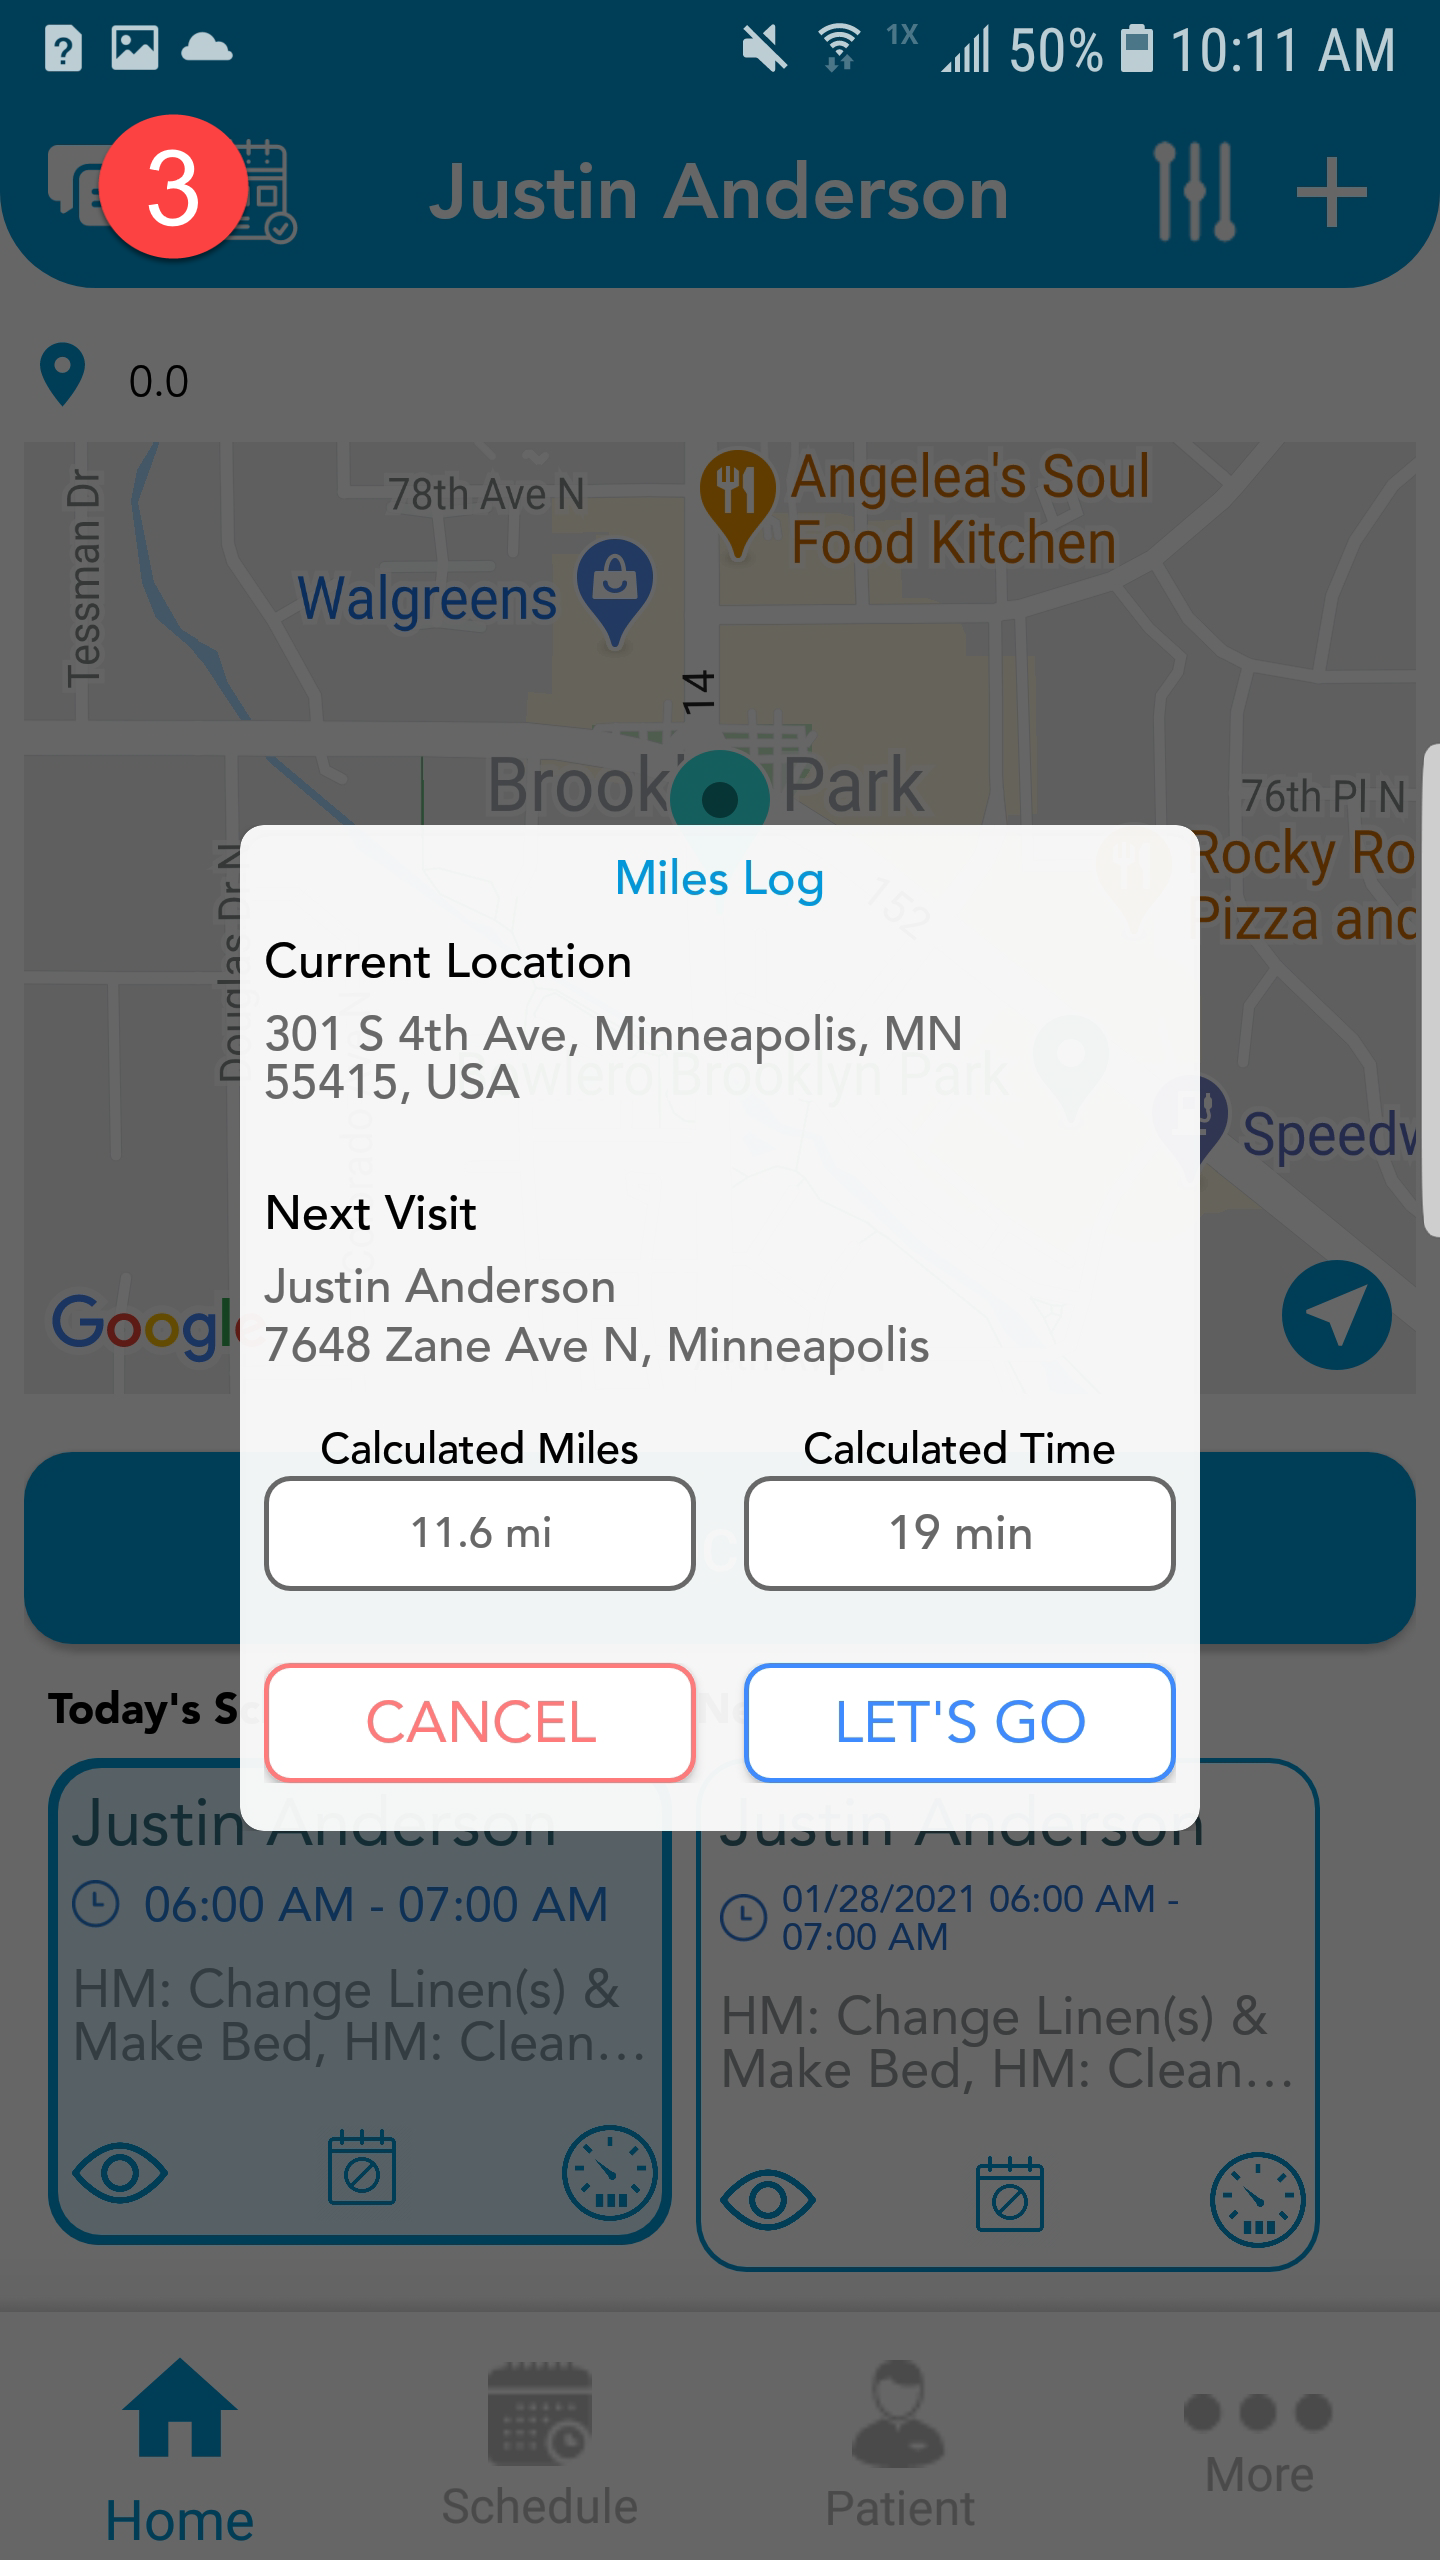
 Tap to track miles to the client's location. This is only available for appointments on the very next Schedule.
- You may also see several icons within the client appointment cell:
Note: You cannot clock in unless you are scheduled for a shift. If you do not see a shift scheduled, call the office, unless you are a Caregiver Enhanced user, in which you can create your own schedule by tapping the plus ![]() icon in the top right corner.
icon in the top right corner.
c. Clocking Out
-
- When you are done with your shift, tap the blue 'Clock Out' button from the Home screen.

- When you are done with your shift, tap the blue 'Clock Out' button from the Home screen.
d. Shift Summary
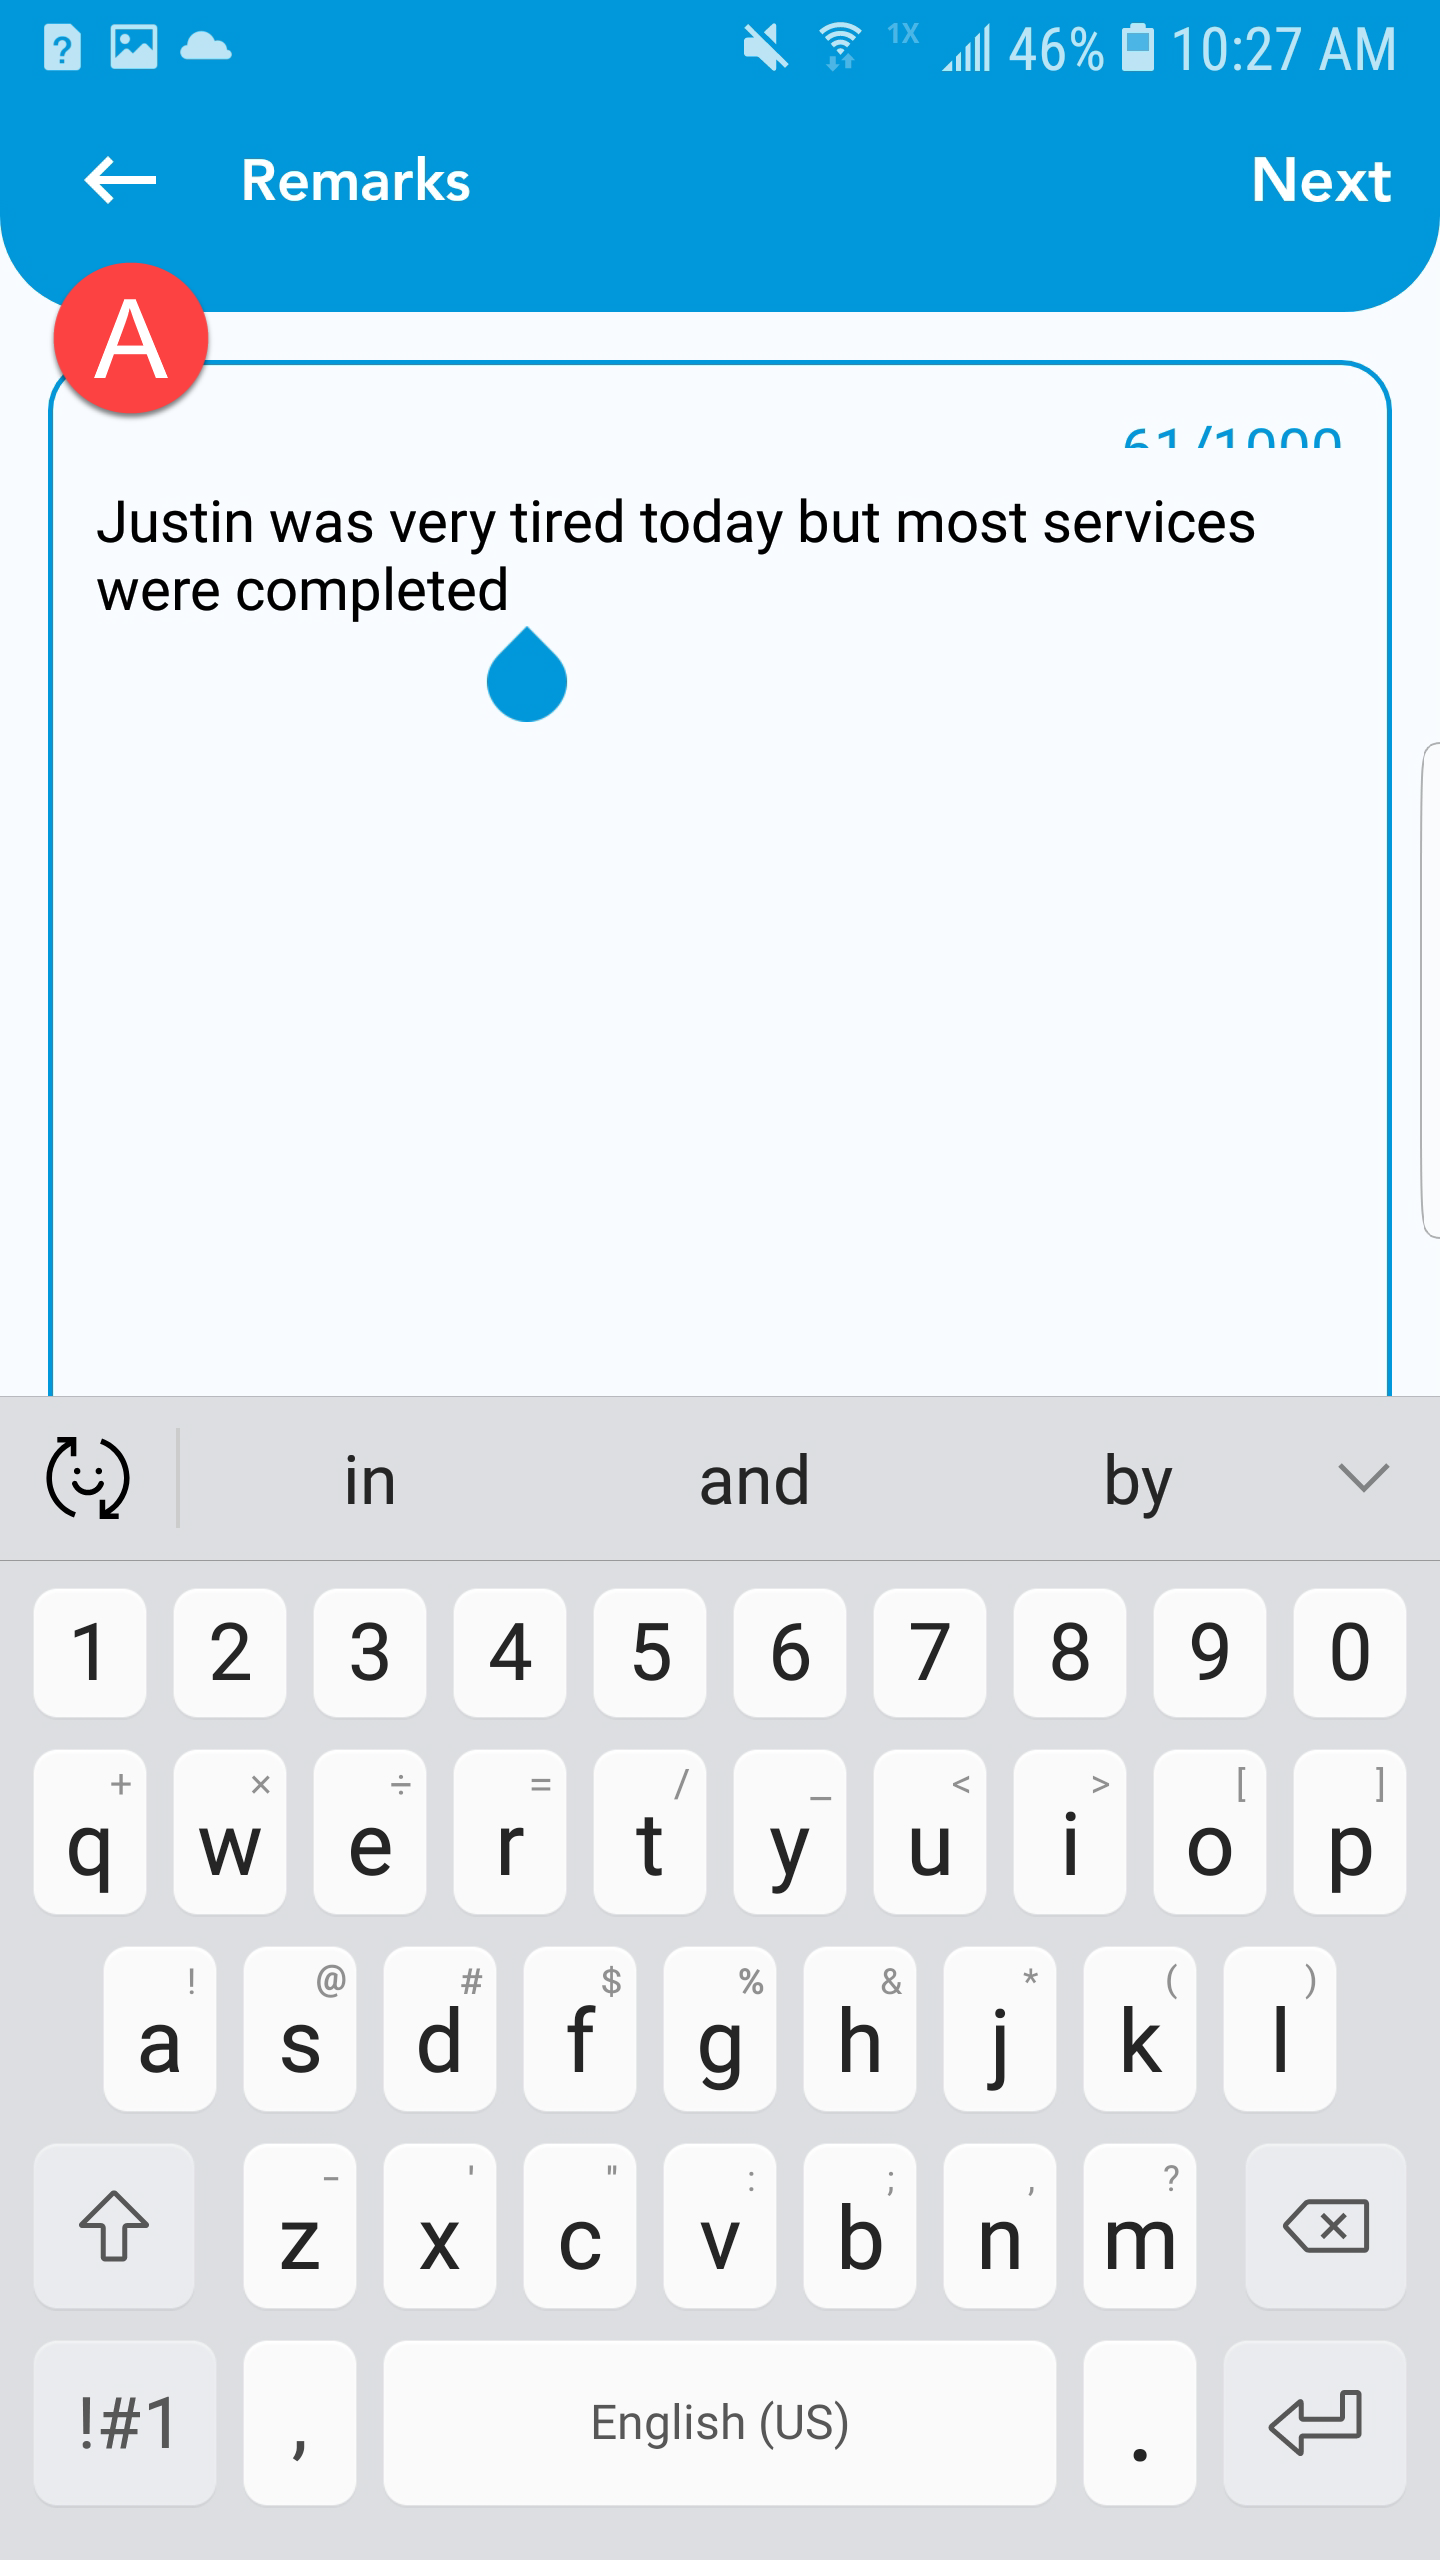
While working the visit, you can prefill the shift summary by tapping on the hilighted visit appointment cell.
-
-
Next, give a short summary of the services provided
 . You can also include any need-to-know information like:
- Client was not feeling well
- Client refused certain services
- Client had to cut shift short
- Tap Next
-
Note: Although not required, please ensure that you are adding information to support the amount of time that you are documenting for services. For example, if you document 2 hours, your summary should support that time. Please be brief but detailed in this area.
-
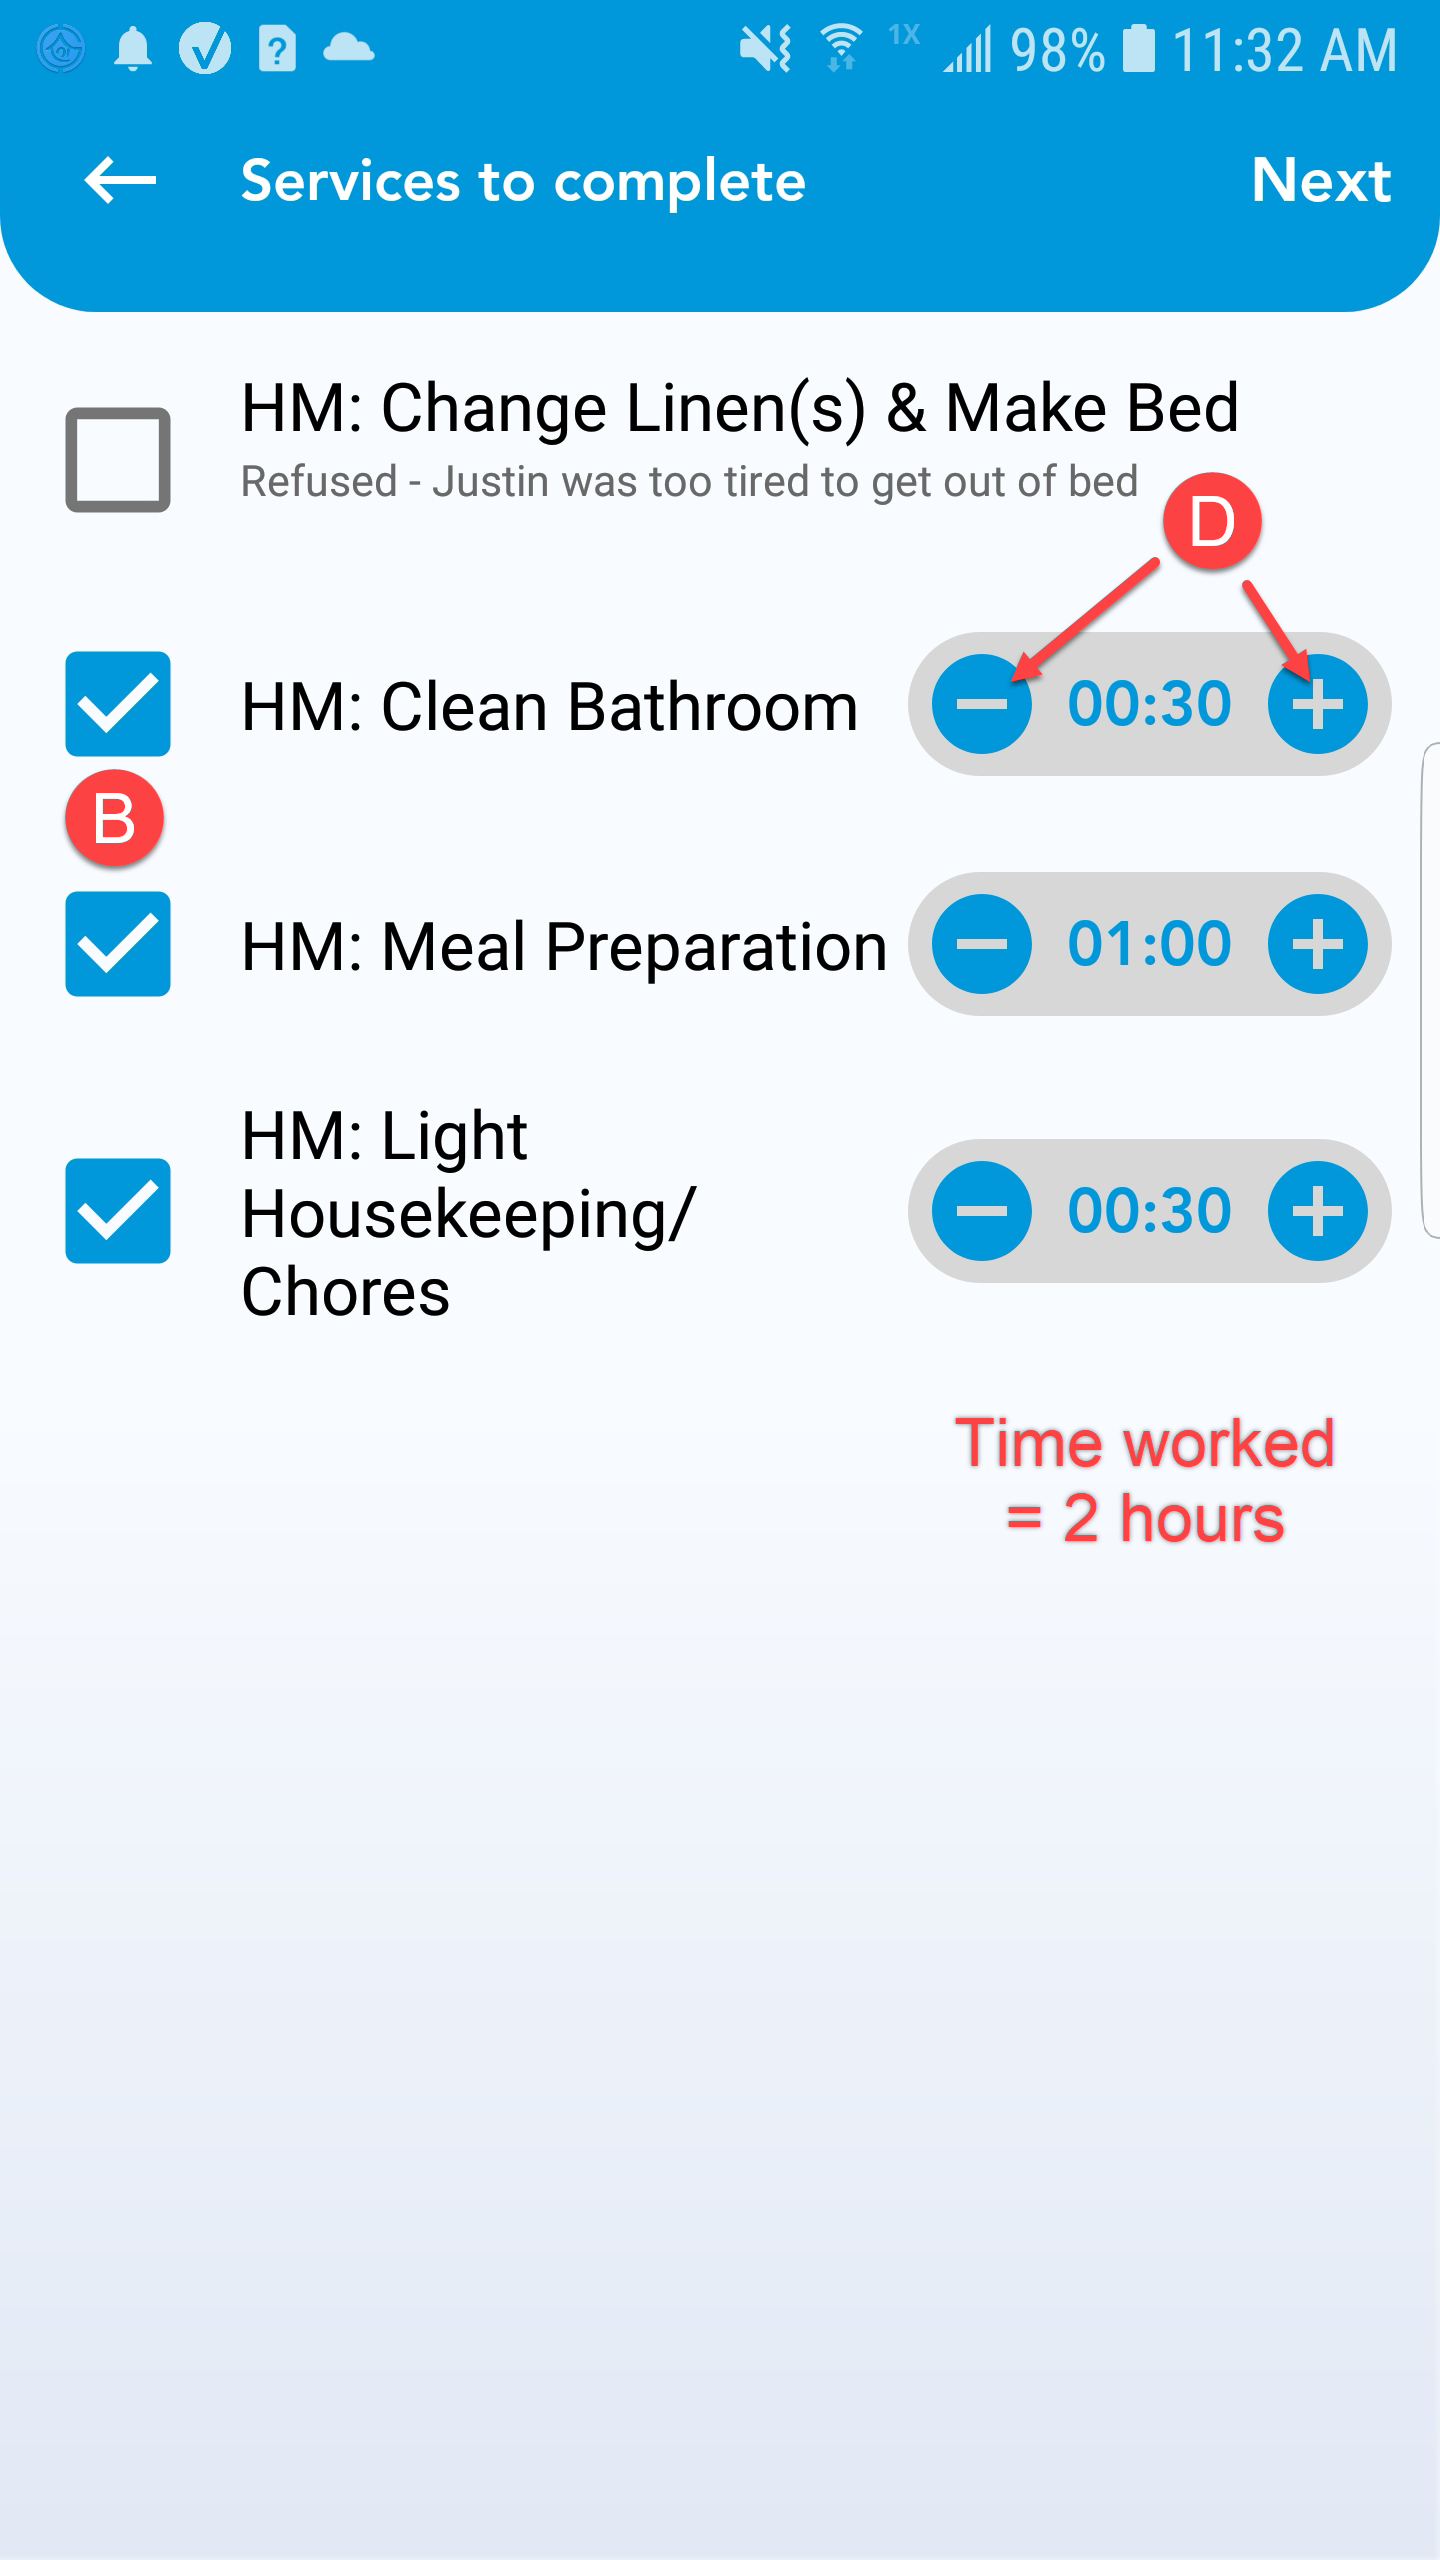
- Services to be completed are documented on this screen based on the client's Care Plan.
- Place a checkmark next to the completed services by tapping on the box next to the corresponding service .

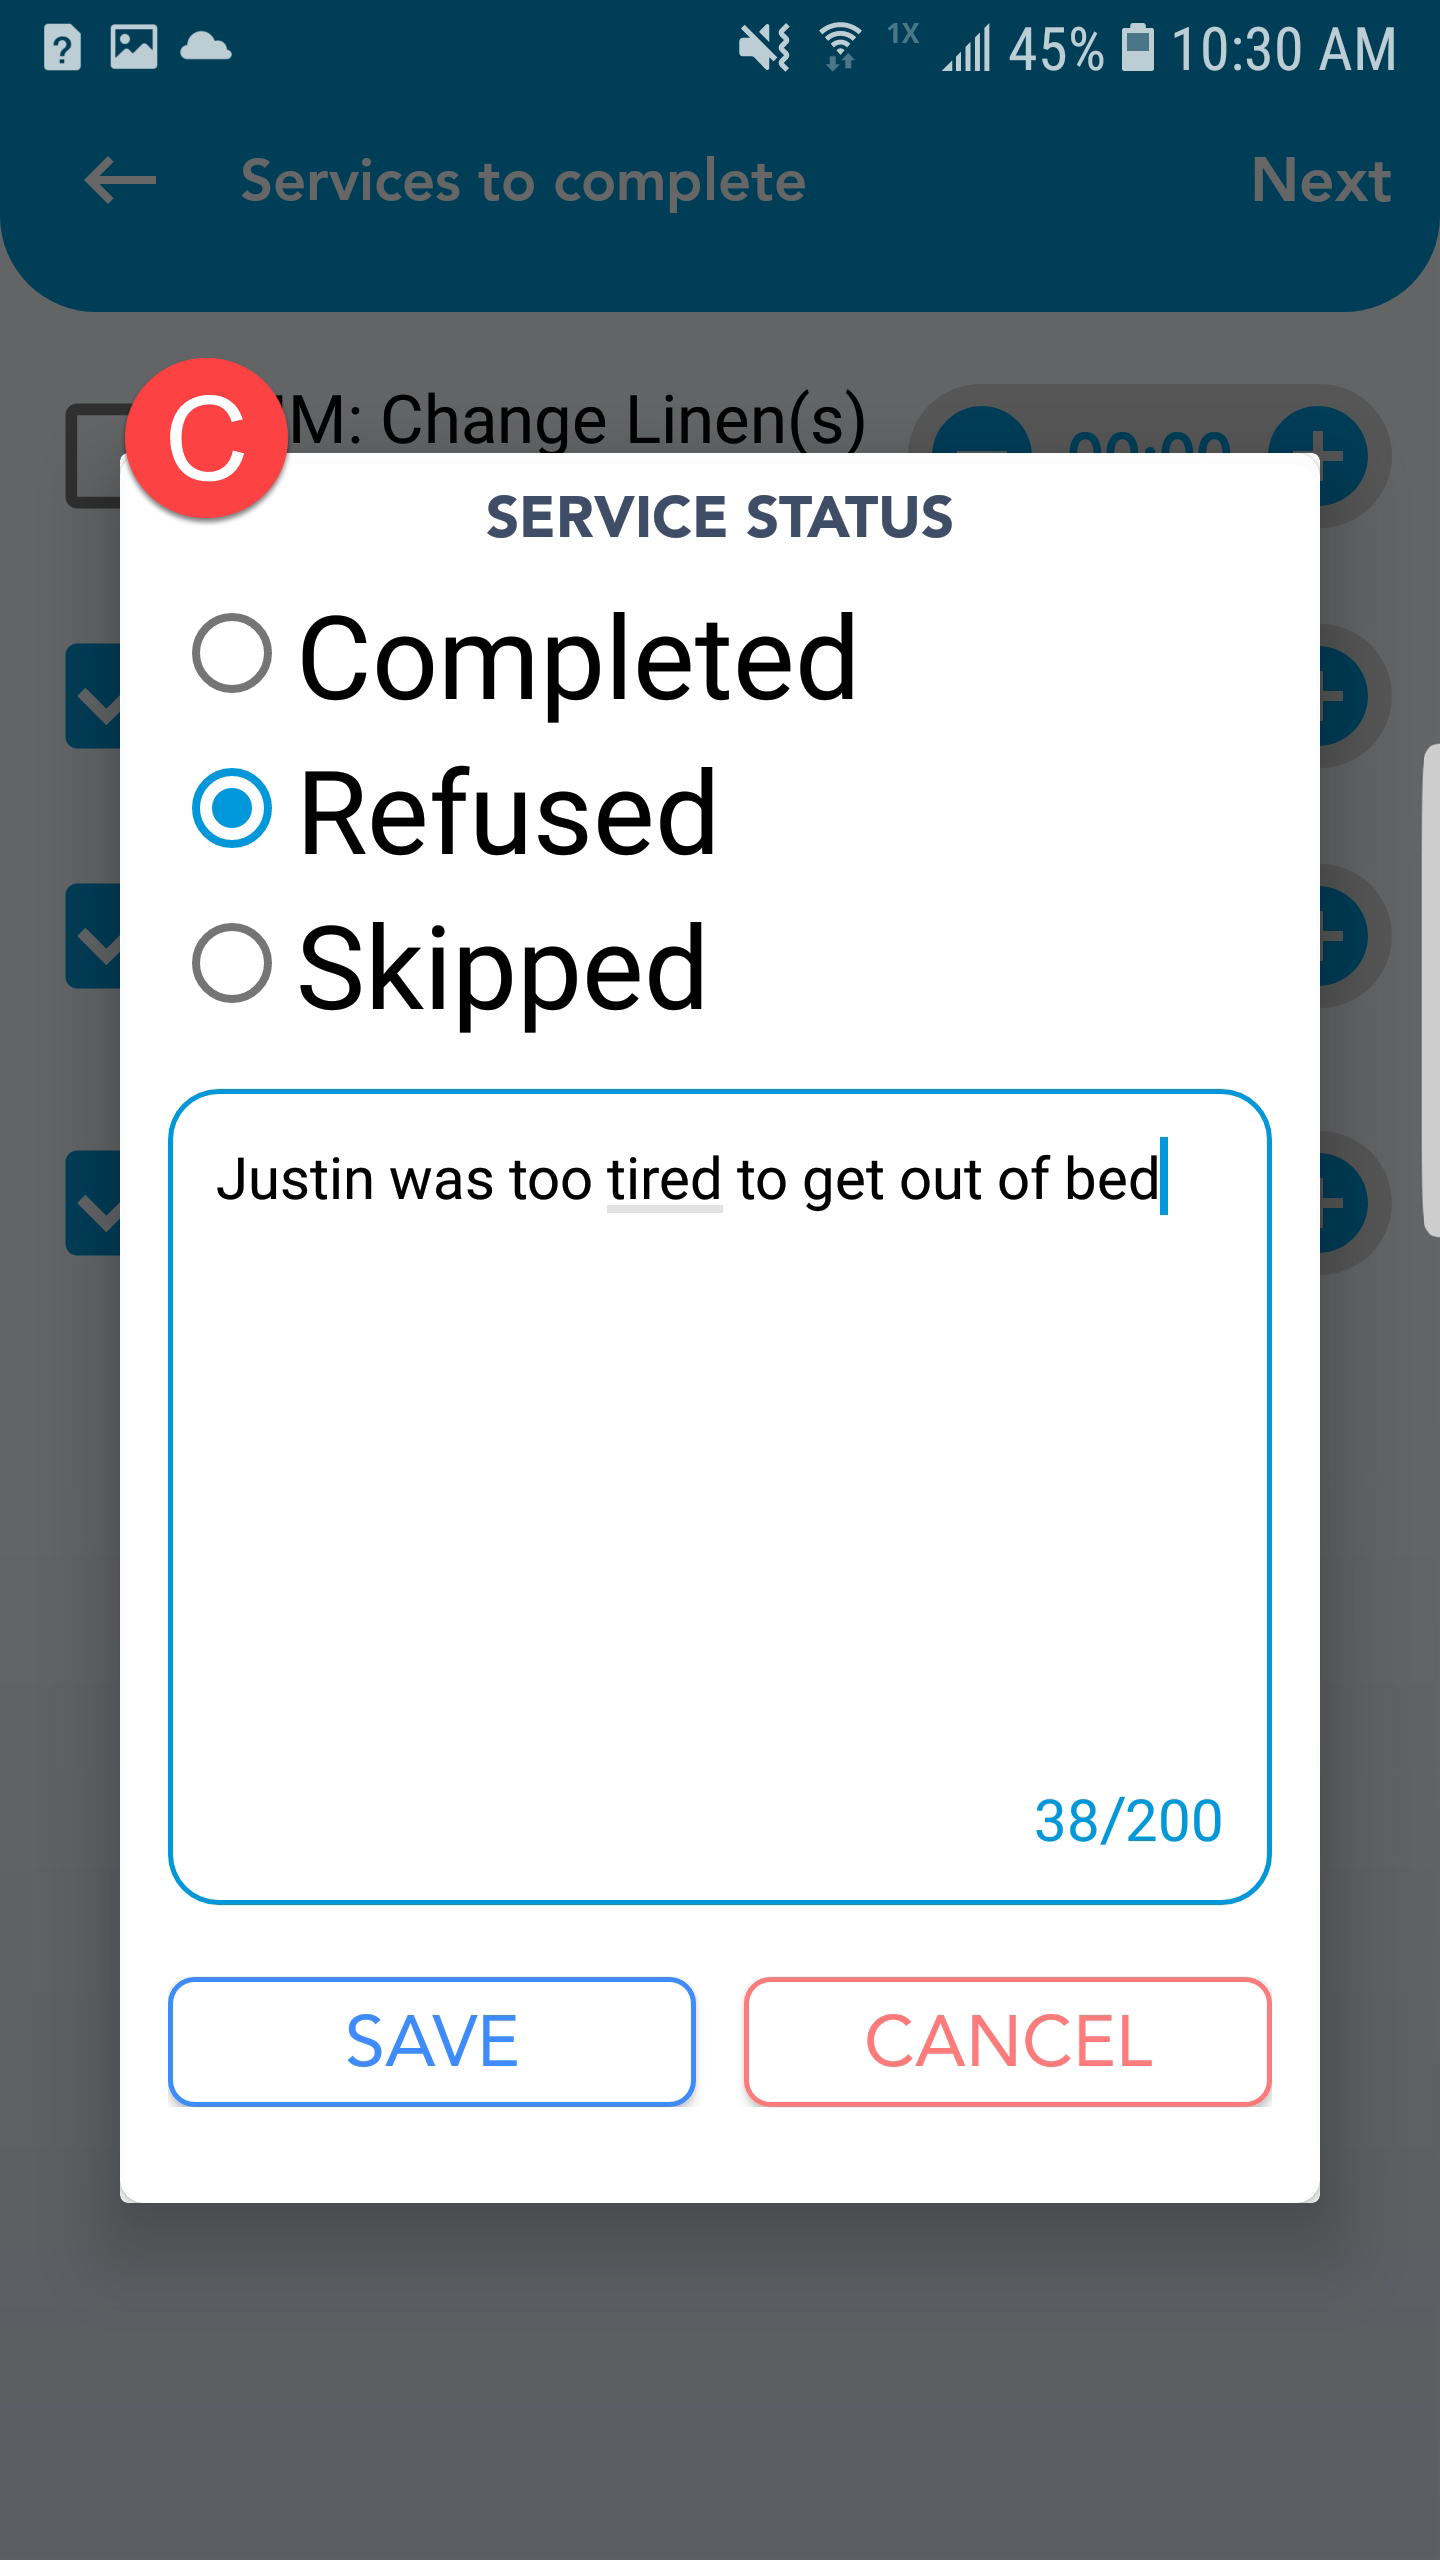
- If you did not work on a service (i.e. Make Bed ) uncheck the box next to the service and document the reason as 'Refused' or 'Skipped'. A Remarks field will become available to add optional comments.
- If you accidentally unchecked a service that you performed, simply choose 'Completed' as a reason on service status pop up.

- You can add or subtract time spent on each service by toggling the plus and minus icons,
 though this is not required.
 - Tap Next
- Place a checkmark next to the completed services by tapping on the box next to the corresponding service .
- Services to be completed are documented on this screen based on the client's Care Plan.
Tip: The time added to each service must match the time you worked. If not, you will receive a warning message. At this point, adjust the service times to reflect the time you worked.
Warning: If you have 'checked' more than one service and added a time for one service, you must also add a time for the remaining checked services.
-
- Request a signature from the client. This is to indicate that they are successfully signing off on the shift.
- You (as a caregiver) will then sign and initial, indicating that all of the information you have provided is accurate.
- Tap on 'Complete' to finish documentation of this shift.
- If you and/or the client cannot provide a written signature, you may type the signature by checking the box next to 'Type Signature'.


-
You have successfully submitted your time worked along with your documentation.
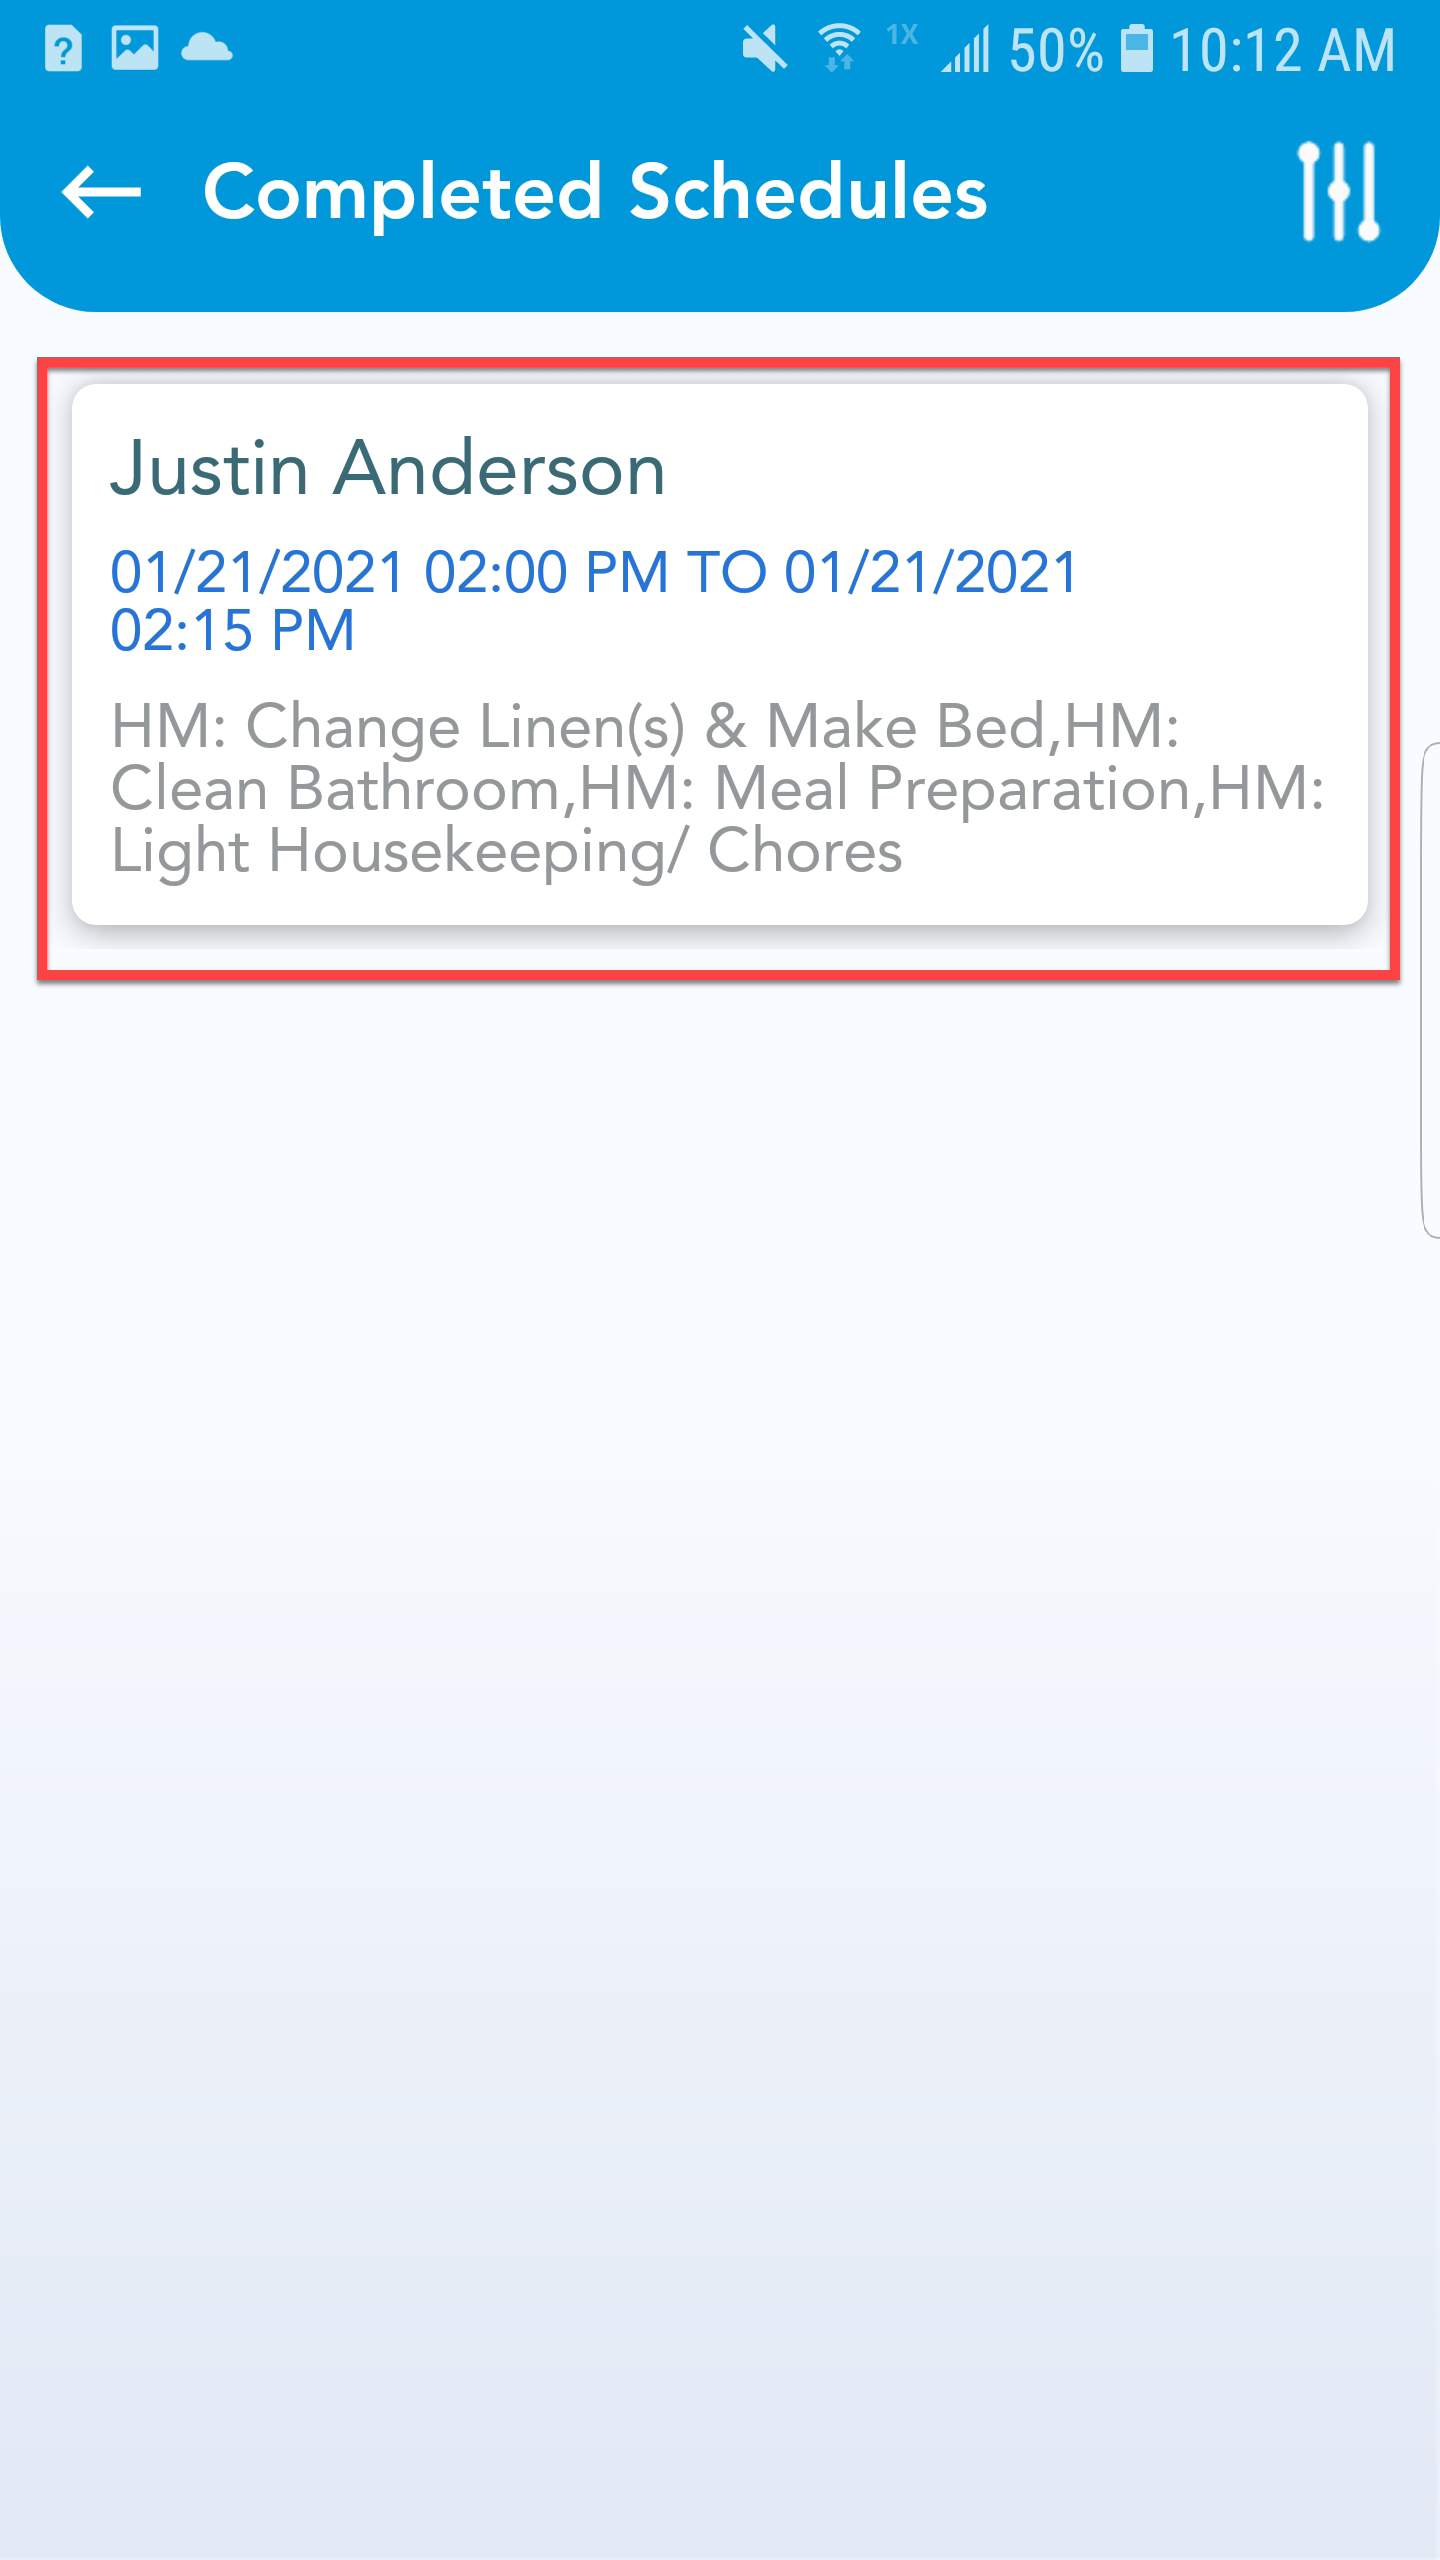
e. Viewing Completed Schedules
-
- Tap the Calendar
 icon in the top left corner of the Home screen.
 - You will see a list of scheduled appointments you have completed.
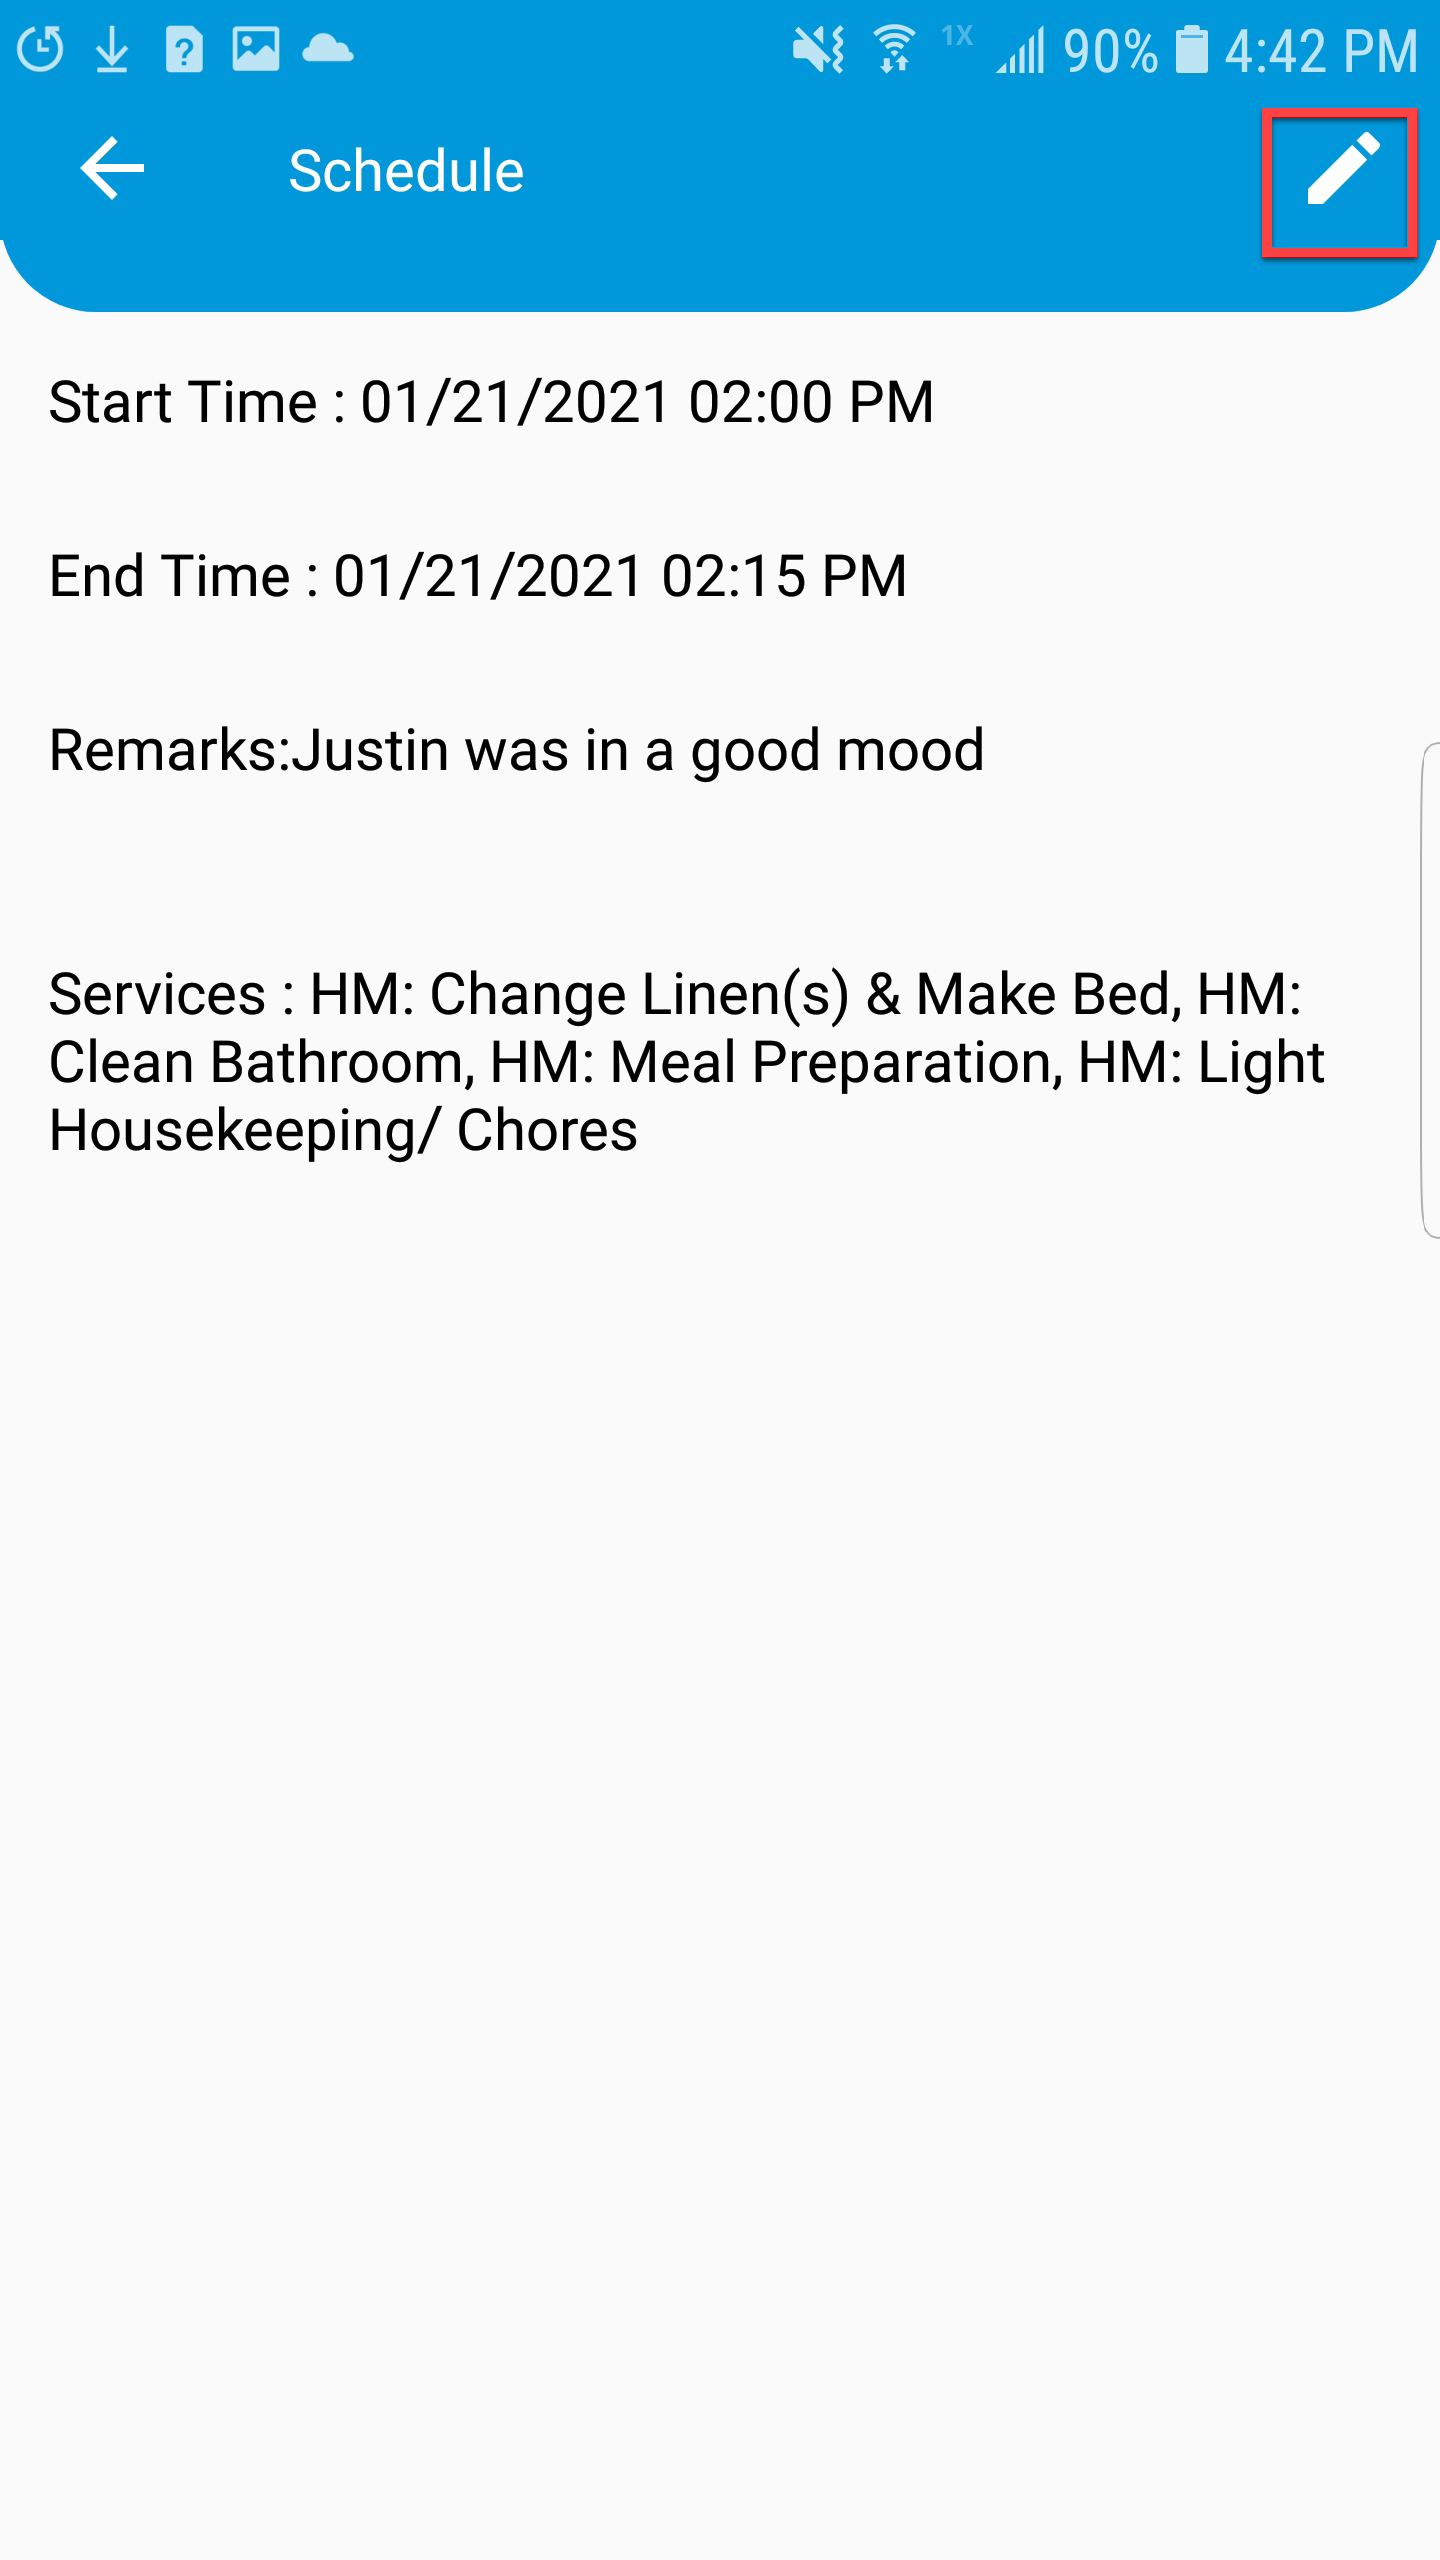
- To edit a completed schedule, tap the appointment.
- Tap the pencil
 icon in the top right corner to make edits to the Remarks or Services.
- Tap the Calendar
 |
 |
 |
Note: For Caregiver Enhanced users, you can create schedules using the mobile app rather than the office creating your schedules.
-
- Tap on the plus
 icon in the top right corner on the screen.
- Select the Client, Service Authorization, Start date & time, and End date & time.

- Select 'Auto Clock In' if you would like to automatically clock into the appointment after you have created it. Make sure to uncheck this if you want to create a schedule (i.e. for choice clients).

- Tap 'Create Schedule'.

- The newly created appointment will appear on the Home screen.


- Tap on the plus
g. GPS Navigation
-
- After ensuring the right client is selected, you will notice pinpoints on the map. These show your current location and the client's location.
- Select the blue navigation
 arrow for turn-by-turn directions to the client's location (if needed).

3. Schedule Screen
a. Viewing your Schedule
-
- Tap the 'Schedule' icon on the bottom ribbon.
- You can filter by date and client by tapping on the Filter
 icon in the top right corner.
 - If the schedule is an EVV enabled schedule, you will not be able to edit the schedule and you must complete the schedule in the Home screen.


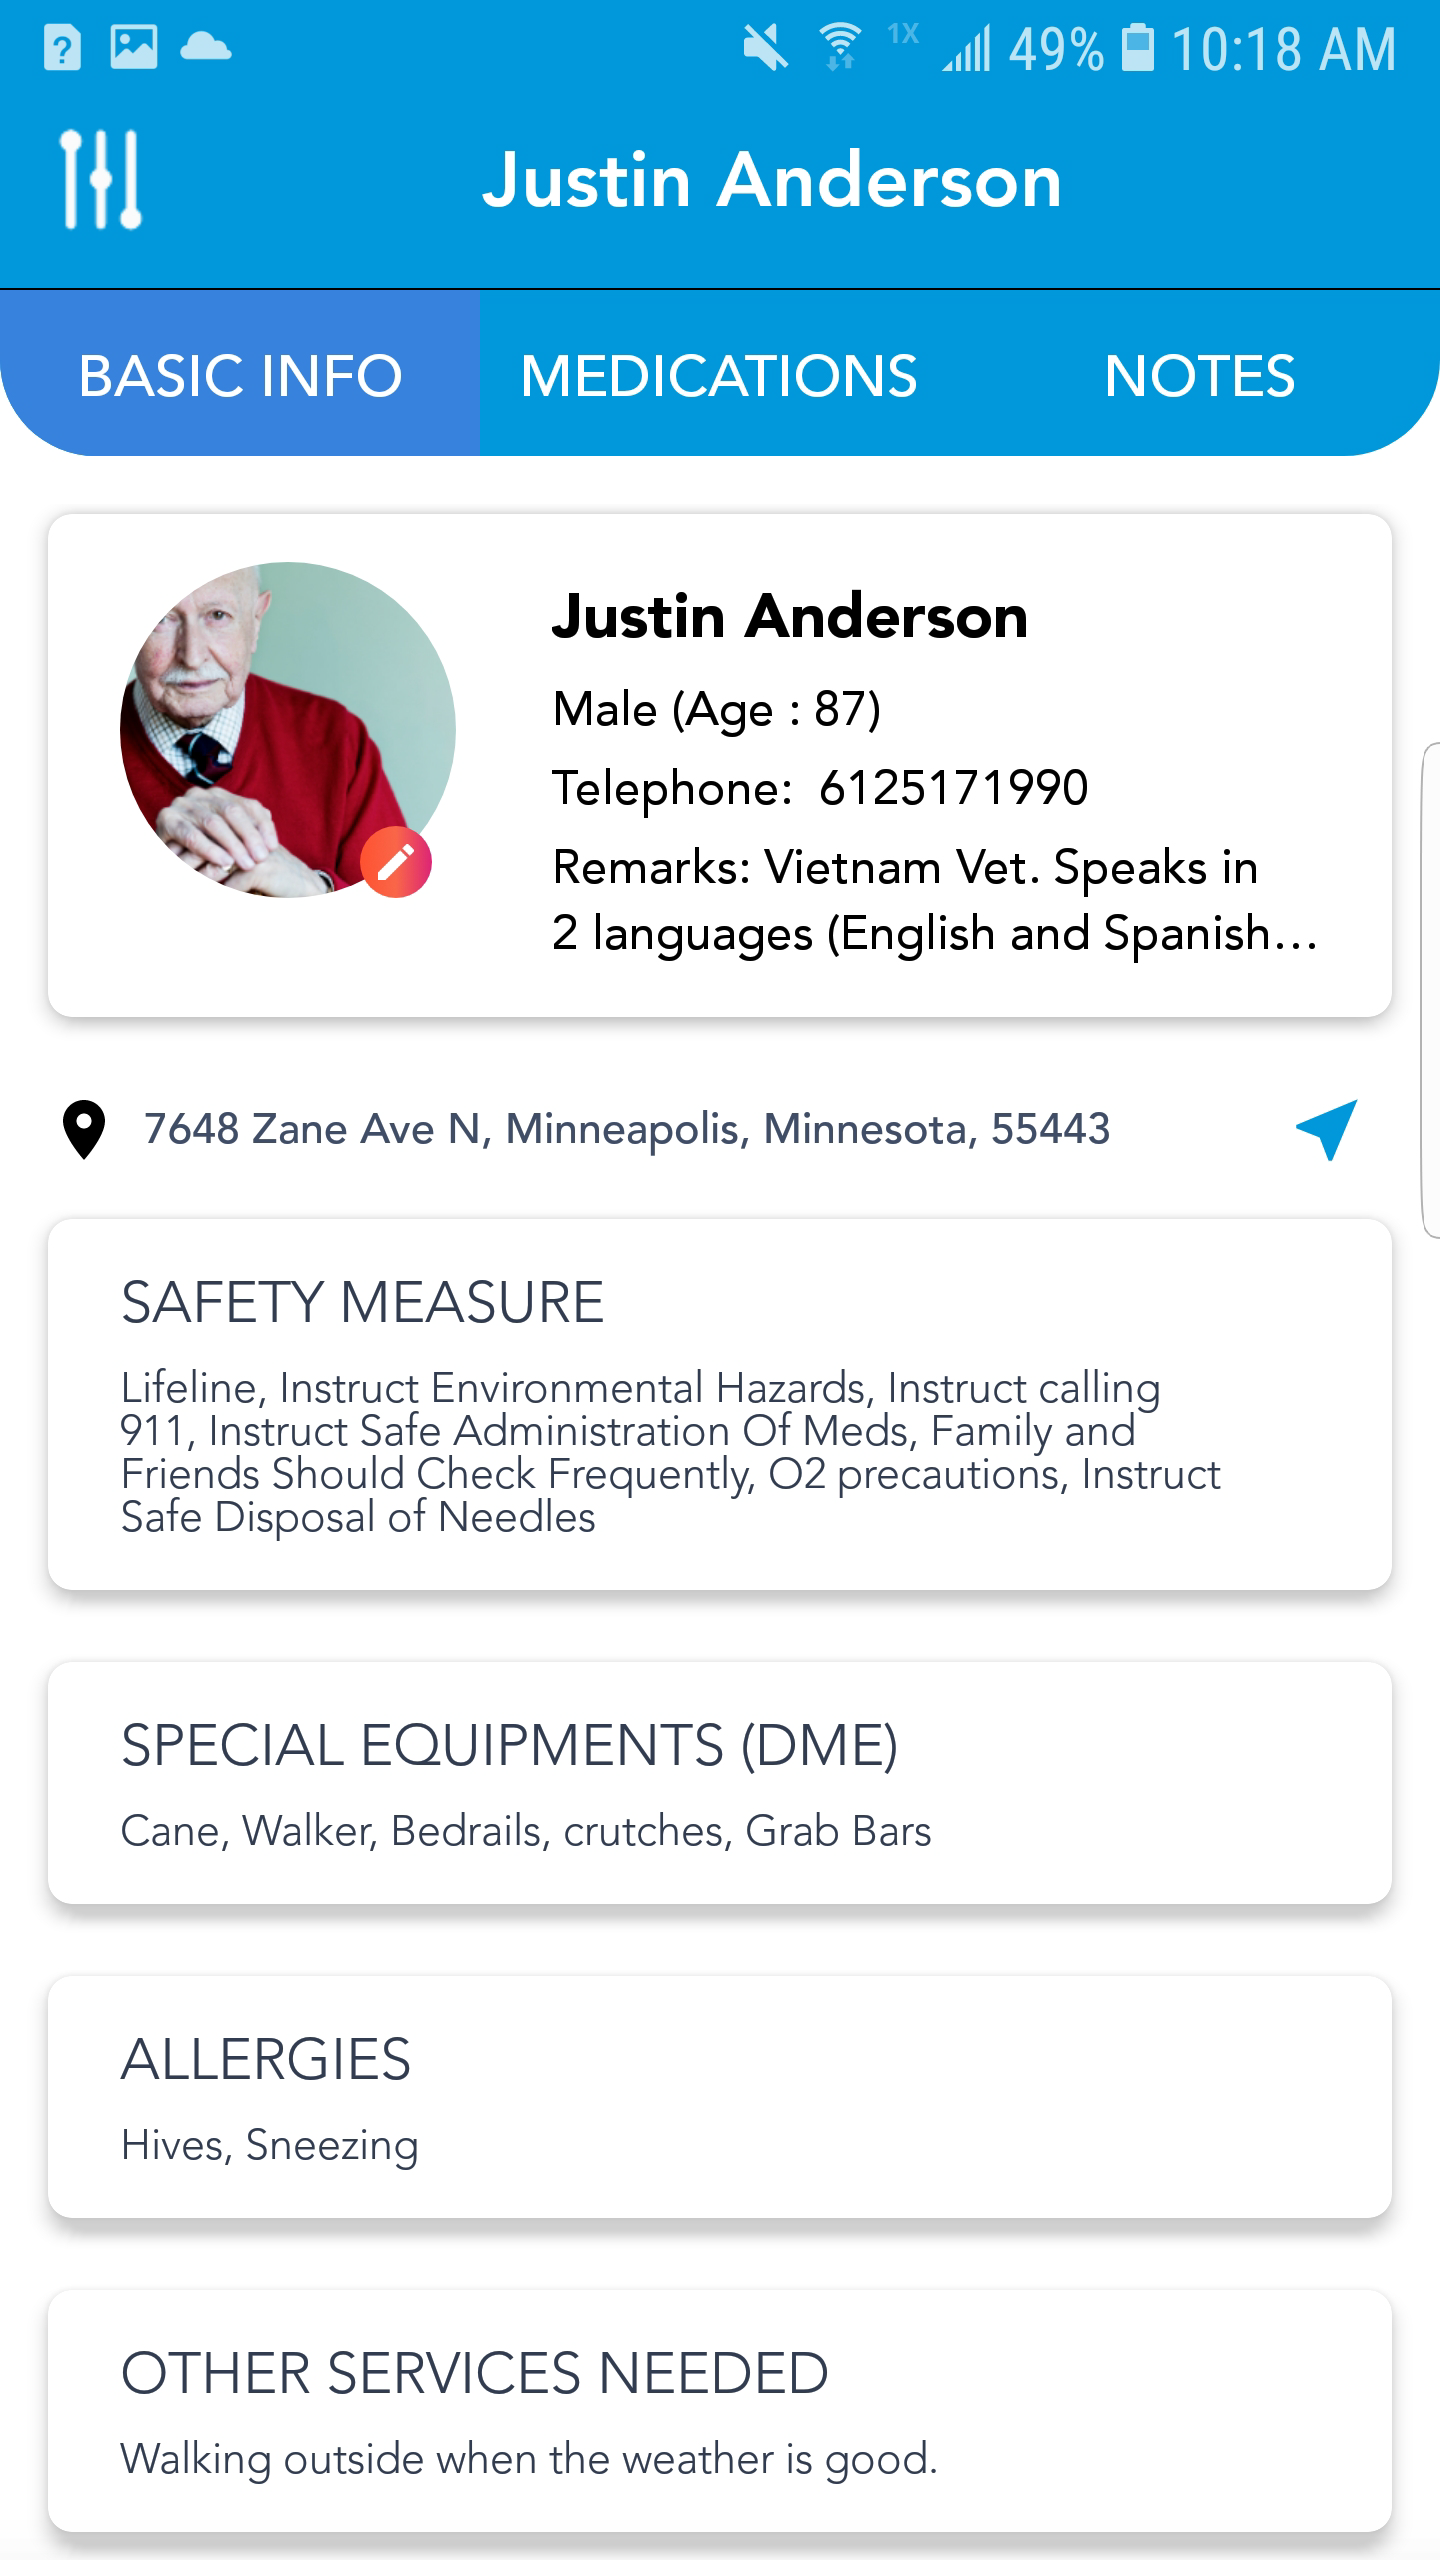
4. Patient Screen
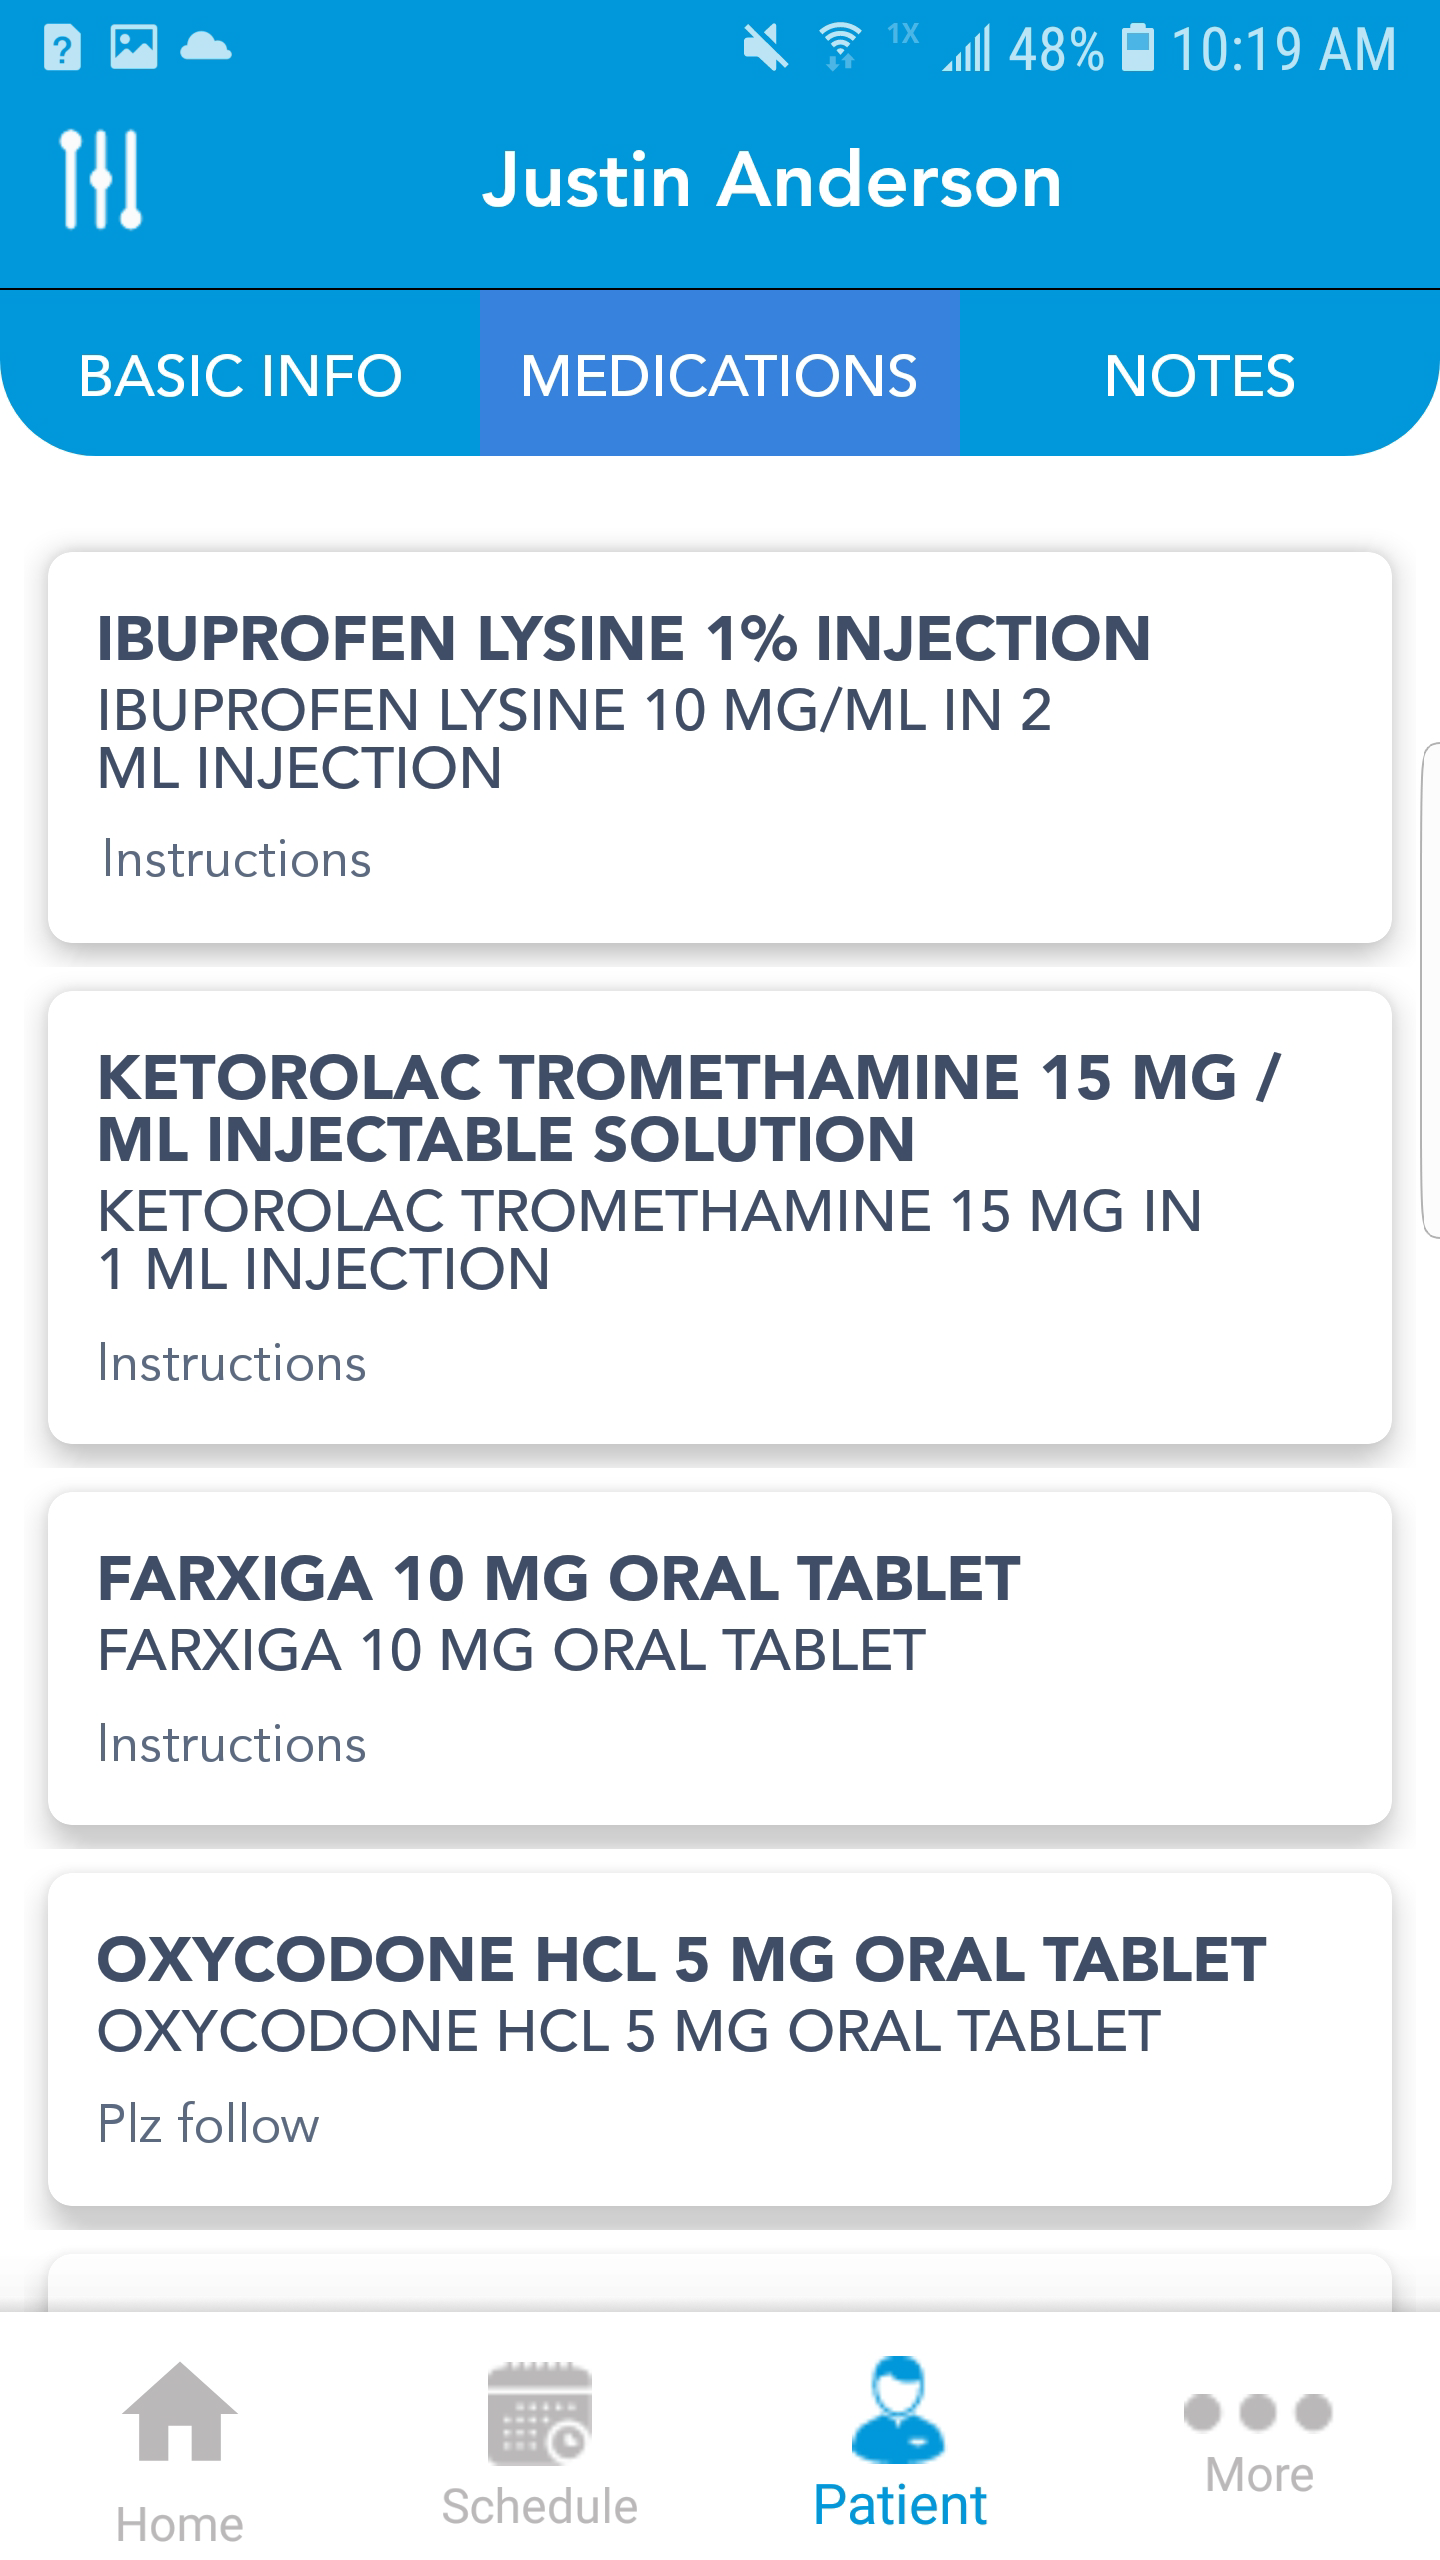
b. Medication tab- View a list of the client's medications and associated details such as dose and administration instructions if the care coordinator added medications for the client.
Note: The Medications and Electronic Medication Administration Records (eMAR) module are not for non-medical services. If you have the medication reminders module, you will be able to complete the medication administration on this screen.
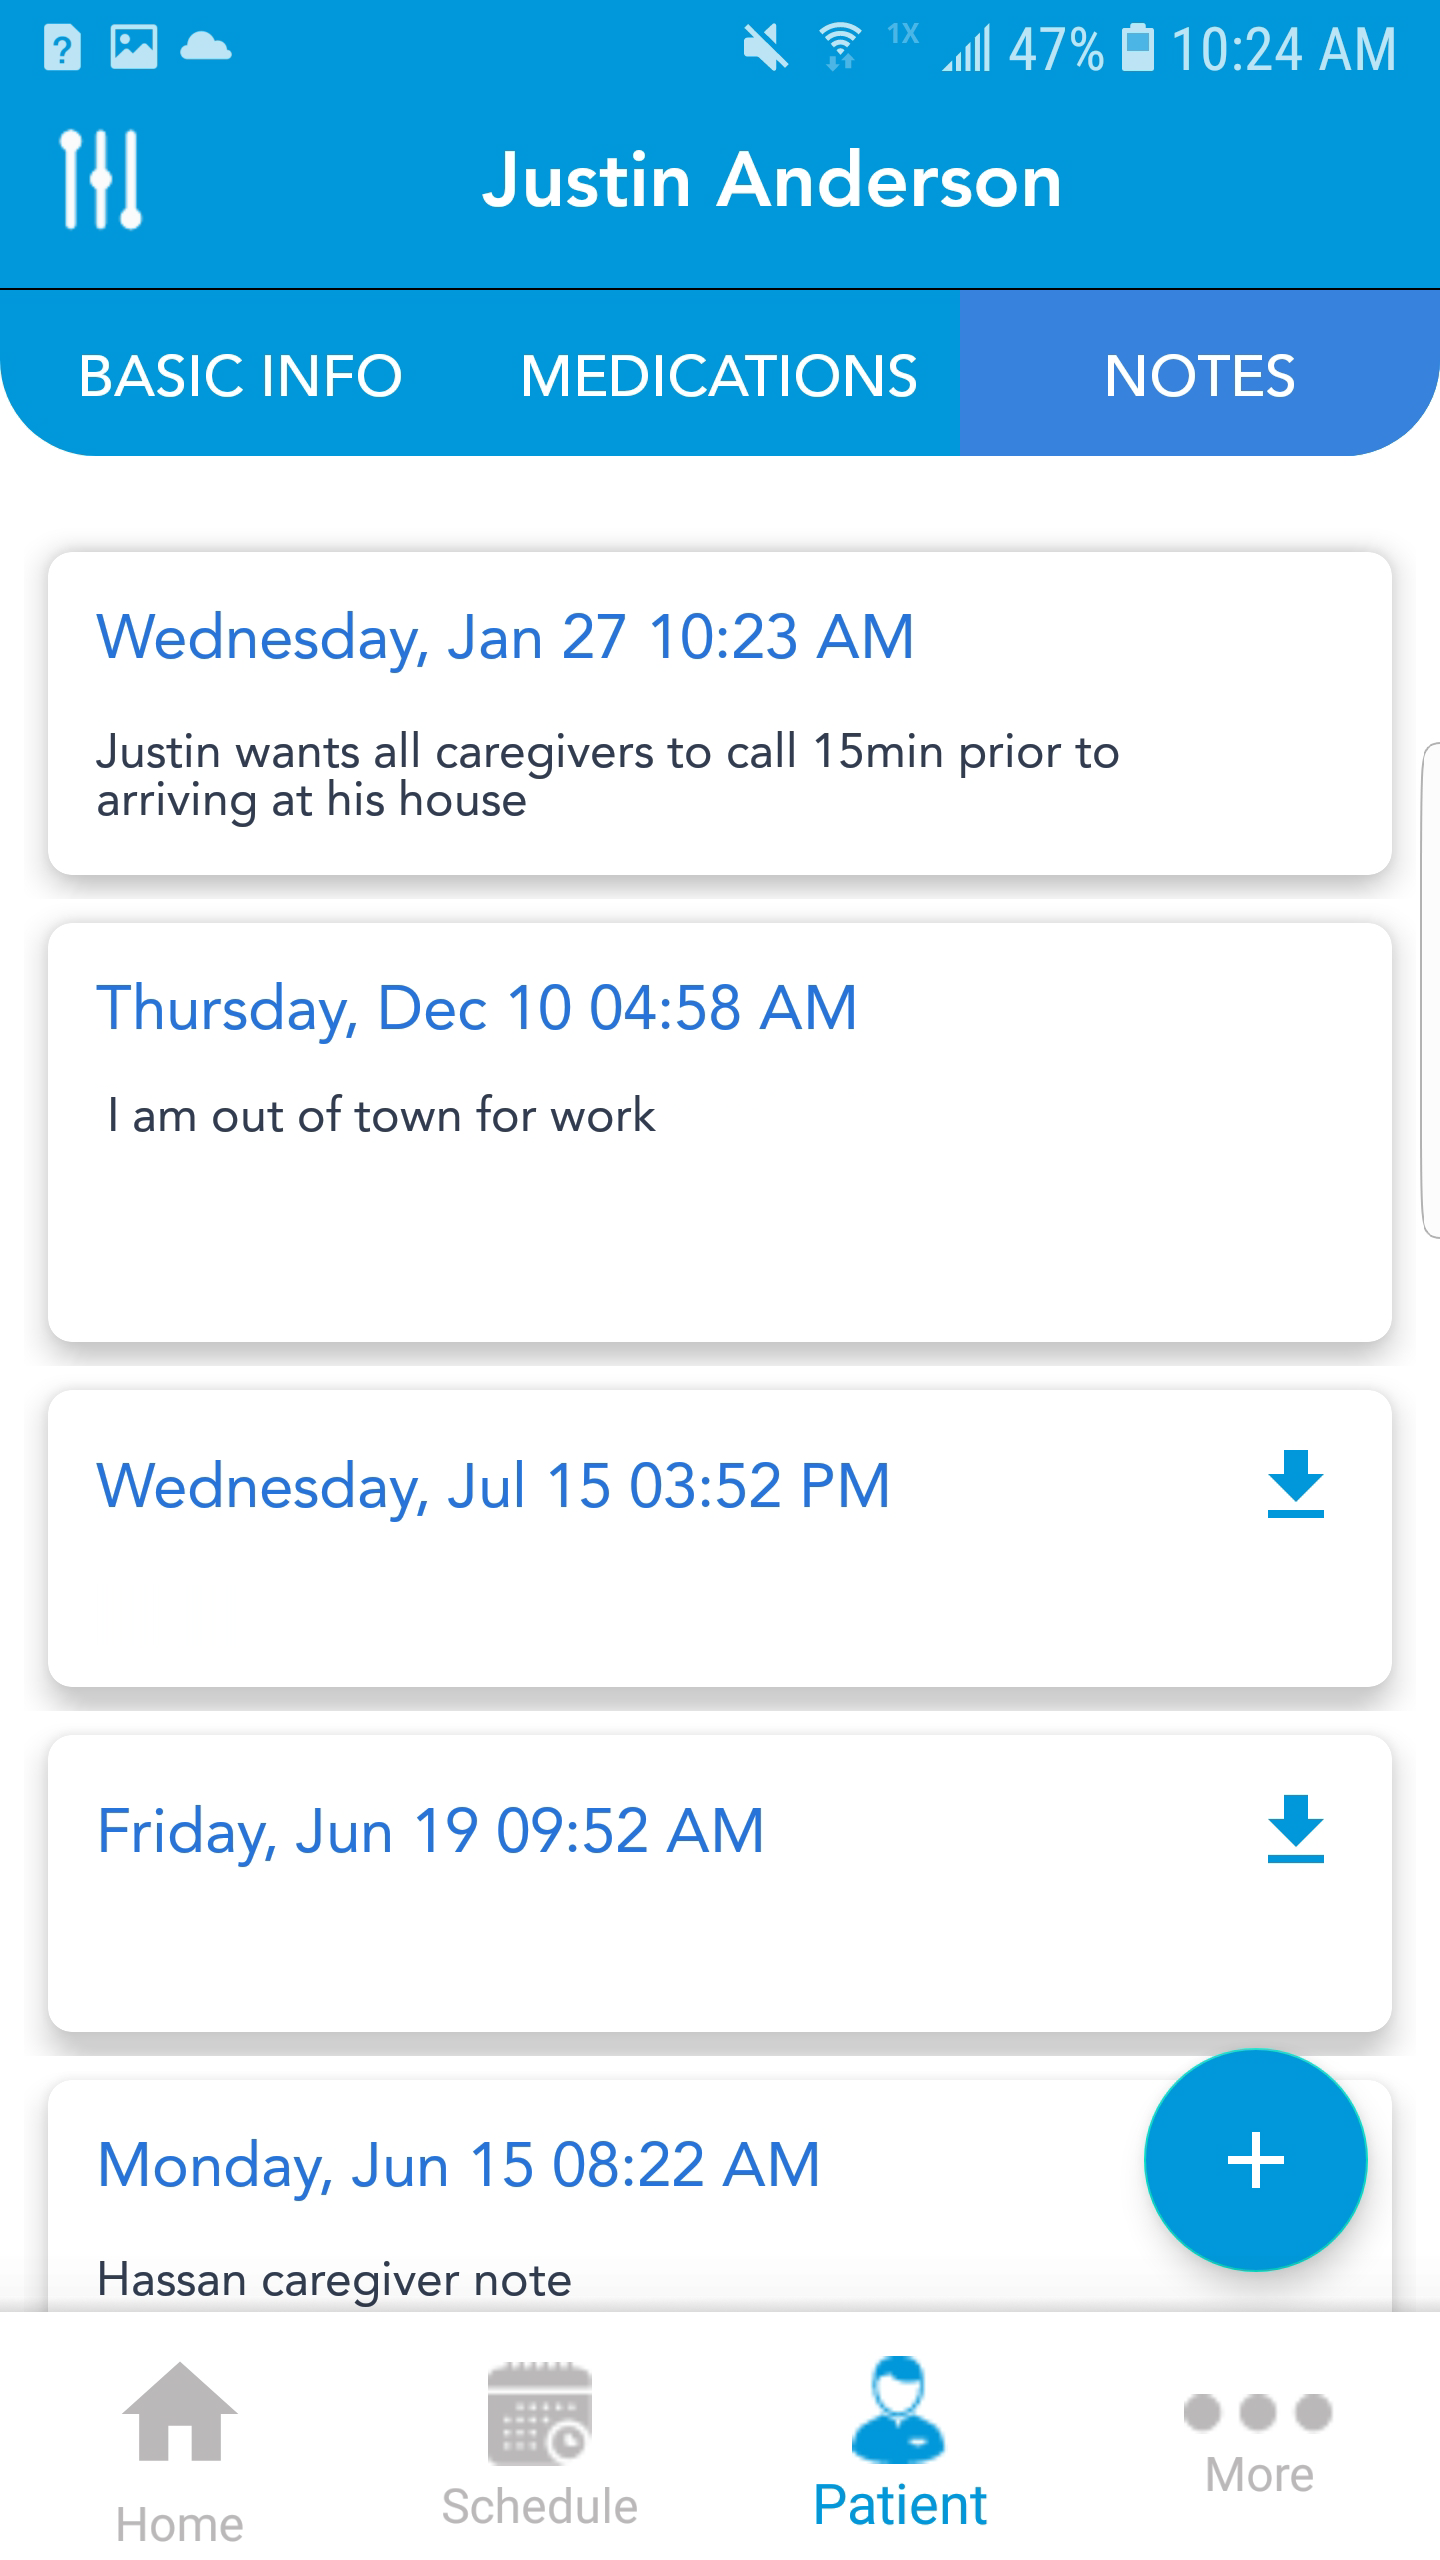
c. Notes tab - View and Create Caregiver notes and attachments.
 |
 |
 |
5. More Screen
|
 |
DISCLAIMER: No real Client or Employee information was used