Users with a Caregiver Enhanced user role can create their own shifts.
-
- To do so, click on the plus
 icon in the top right corner on the Dashboard tab.

- To do so, click on the plus
If you see this error message then you do not have a service authorization or care plan with the client you are trying to schedule for.

To resolve this, to resolve this, first check that the correct client is selected at the top of the page.
If they are, please reach out to the back office and ask them to prepare a service authorization and care plan for you and your client
-
- Select the Client, Service Authorization, Start date & time, and End date & time.


- Select 'Auto Clock In' if you would like to automatically clock into the appointment after you have created it. Make sure to uncheck this if you want to create a future schedule (i.e. choice clients).

- Select the Client, Service Authorization, Start date & time, and End date & time.

Note: You will only be able to see clients that you work with when filtering.
-
- Click 'Create Schedule'.
-
- You will receive a confirmation message- "Success: Your schedule created successfully"

- The newly created schedule will appear on the Dashboard and Schedules tabs.
- You will receive a confirmation message- "Success: Your schedule created successfully"
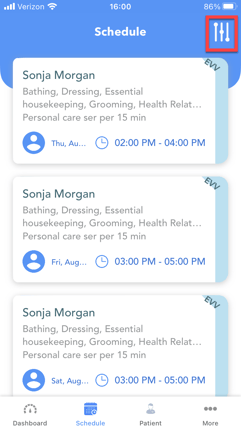
Viewing your Schedule
-
- Tap the 'Schedule' icon on the bottom ribbon
-
- You can filter by date and client by tapping on the Filter icon in the top right corner.
-
- If the Client is enabled for EVV, you must complete the schedule in the Dashboard tab.