To add an employee, head to Operation > Employee > Add Employee.

Enter the employee's information on the modal that appears, the fields that have an (*) will be required:
(*) Employee Type - Options: Regular Employee, Pre-employment, Regular Clinician, Contractor, Other, or Regular-Office
(*) Job Title
Education Level
(*) Employee Title: Required for Employee Type of Regular Clinician (This box will open once a Regular Clinician is Chosen as an Employee Type)
(*) Employee First Name and Last Name
Middle Name (or Initial) is optional
(*) Adress and Zip Code - press enter after inputting the ZIP Code to auto-populate City and State
Marital Status
Unique Provider Identifier - This would be the provider number (a unique 10-digit number) of the employee or NPI for qualified professionals (i.e. nurses)
(*) Telephone Number - no dashes or periods
Social Security Number
(*) Gender
(*) Date of Birth
Status - Defaults to Active
Email
Licenses - e.g. CNA (Certified Nursing Assistant), RN (Registered Nurse), LPN (Licensed Practical Nurse) or APRN (Advanced Practice Registered Nursing)
Immunization
Race
License Expiration Date - This is referring to Drivers License.
Drivers License Number
Reports To - The supervisor whom the employee will be reporting to.
PCA Certificate - number
Employee Number and Date of Hire will auto populate- Date of Hire defaults to today's Date.
Note: Once saved the Employee Number will not be editable.
Upload a photo of the employee using the Click or Drop files to upload field.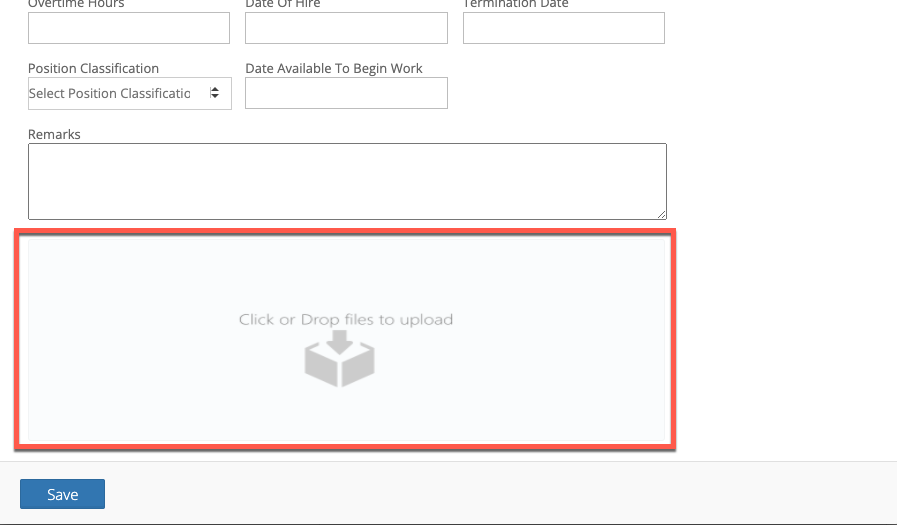
Click the Save button after inputting the employee's information. A validation pop-up should appear when doing so. If the message shows as below, click the Add to CRM button.
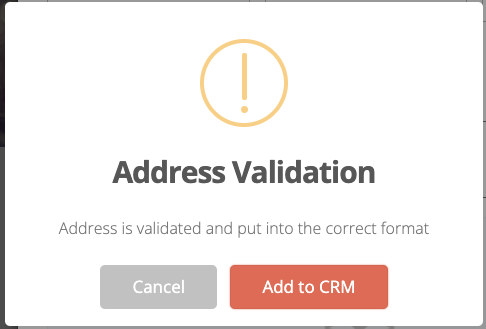
If "No valid Address found. Cancel and confirm your address" appears, click Cancel and verify that the address was input correctly.
The employee's profile will appear and information can be edited at any time by clicking on the Edit Employee Info button.
Viewing an Employee
To view an employee's profile, head to Operation > Employee > View Employee.
Make sure to select the status of the employee that is being searched for in the Status field at the top and then click on the blue refresh arrows. 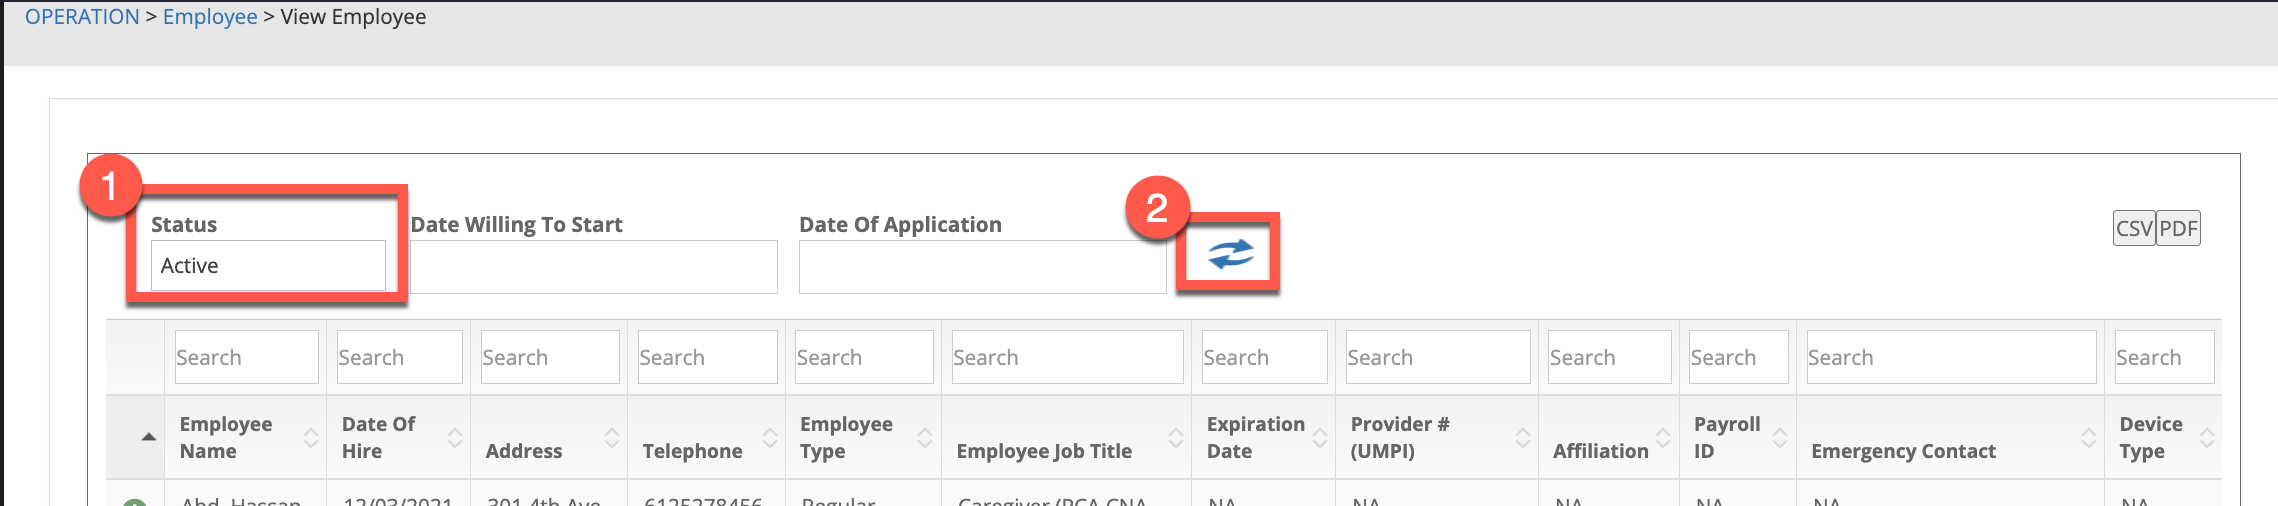
If a potential employee filled out the registration URL, make sure to change the status field to "Onboarding" to review their information.
Locate the employee and click on the + sign to the left of their name.
Click on the View Employee Dashboard button to be taken to the employee's profile.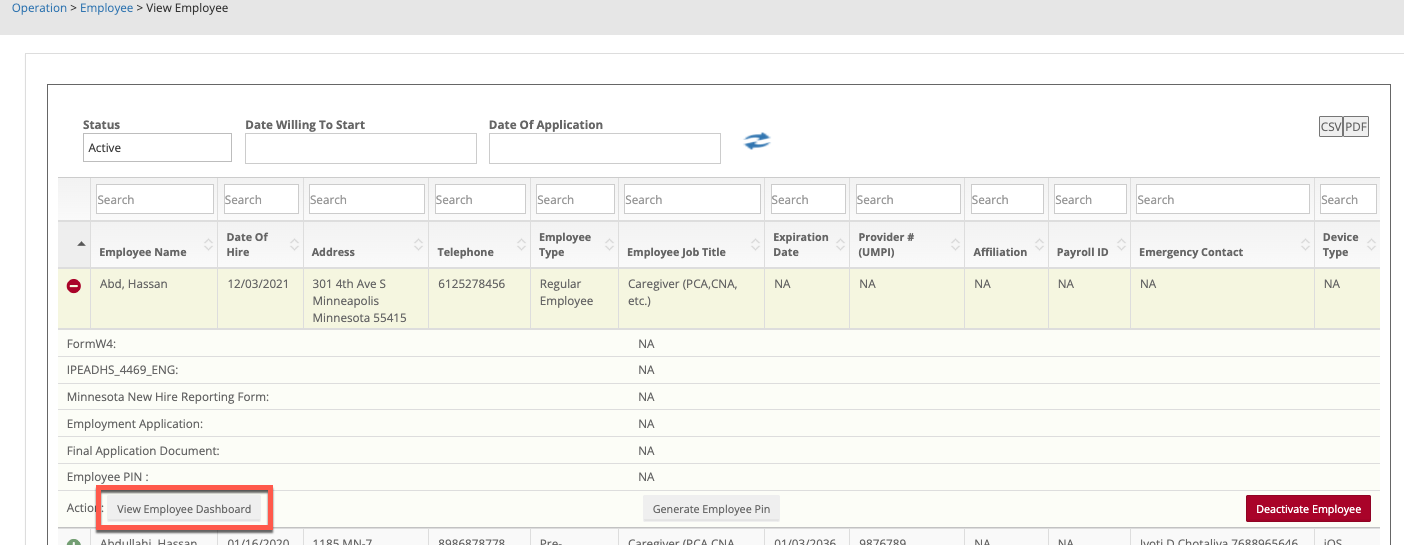
The employee's profile will appear, and information can be edited by clicking on the Edit Employee Info button. There will be additional information about the employee in the tabs at the bottom of the page. Click into each to view, edit, and add information. 
No real employee information was used.