Jump To:
Viewing a Client
The Client Profile
Viewing a Client
To view a client, head to CRM > Clients > View Clients..gif?width=688&name=ScreenFlow%20(21).gif)
On the next screen that appears, locate the client and click on the + sign to the left of their name. Then, click on the Edit Client button to be taken to the client's profile.
Make sure to select the status of the client that is being searched for in the Status field at the top and then click on the blue refresh arrows!
.gif?width=688&name=2022-09-01_10-24-14%20(1).gif)
The Client Profile
Within a client's profile we'll be able to easily see basic information about the client. We'll also have the option edit the client's information by clicking on the Edit Client Info. button. If any changes are made to the client’s basic information on the pop-up, click the Save button to update.
.gif?width=688&name=2022-09-01_10-26-54%20(1).gif)
We’ll also see icons showing for their payers and caregivers. We can click on any of the icons to reveal additional information.
.gif?width=688&name=ScreenFlow%20(22).gif)
At the bottom of the client’s profile there will be several tabs: 
- Medications
-
Add medications by clicking the Add Medication tab. Fill out the required fields.
To edit medications, click the Medications tab. Click the green plus icon to the left of the medication and then click the blue pencil icon.
To delete a medication, Click the green plus icon to the left of the medication. Then click the red trash can icon.
The Interaction tab gives a list of medications that interact and a description of the interaction.
-
- Contacts
-
To add a contact, click the grey plus icon. Fill out the fields that show in the popup and click Save.
To view and edit a contact, click the green plus icon to the left of them. To edit their information, click the blue pencil icon.
To delete a contact, click the red trash can icon. A “Delete Client Contacts!” popup will appear; to confirm click the Confirmed and it’s Correct button.
-
If the patient has an Alternate Residence, you can add that address as a contact to them.
- Care Plans
- To view your client’s care plans, filter through the columns.
- Incidents
-
Incident reports can be found under the Incidents tab.
To add an incident report, click the grey plus Icon. Input the information into the required fields and click Save Incident Report.
To edit a incident report, click the green plus button next to it. Then press the plus button next to it. Then press the blue Edit Incident Report button. Edit the info in the popup that appears and click Save Incident Report.
-
- Not Billable Schedules
- Add, view, edit, or delete not billable schedules.
- Documents
-
To add documents, click the grey plus icon. Select a document type in the popup that opens and click Save.
Add would be using the + sign to upload a document that was completed outside of the Billiyo system into the client’s profile. PDF is best file type.
To view a document, click the attachment link in the columns.
To delete a document, click the grey X icon next to the document’s link.
-
- Caregivers
-
Caregivers are employees that are connected to clients using a care plan.
To add a caregiver, click the grey plus icon.
To edit a caregiver, click the green plus icon next to it. Then press the Edit Care Taker button. Edit the info in the popup that appears and click Add Caregiver.
To delete a caregiver, click the Delete Care Taker button.
-
- Authorizations
- Add, view, edit the client's Service Authorizations.
- Advance Directive
- An advance directive is a legal document in which a person specifies what actions should be taken for their health if they can’t make decisions for themselves because of illness or incapacity.
To add an advance directive, click the grey plus icon.
To edit an advance directive, click the green plus icon next to it. Then press the Edit Advance Directive button. Edit the info in the popup that appears and click Save.
- An advance directive is a legal document in which a person specifies what actions should be taken for their health if they can’t make decisions for themselves because of illness or incapacity.
- Trackable Licenses
-
Trackable licenses can be found here like, Insurance card #, Patient PIN, etc.
To add a trackable license, click the grey plus icon.
To edit a trackable license, click the green plus icon next to it. Then press the Edit Trackable License button. Edit the info in the popup that appears and click Save.
-
On the right side of the screen we’ll have the ability to:
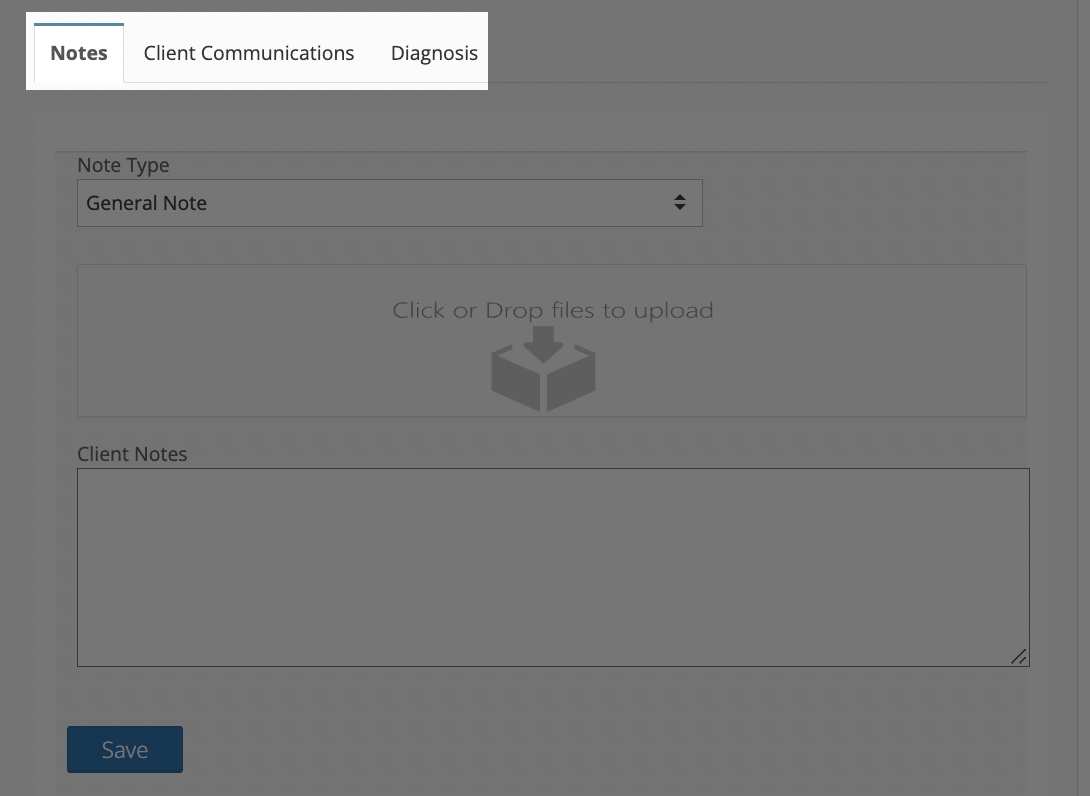
- Notes — Leave a note in the client's profile.
- All Notes remain Part of the Client Record in the Back Office
- All Notes can be Seen in PDF format and are available to print or send to a third party if needed.
- Client Notes that can be seen in Clinical App:
- Notes for Other Caregivers
- Caregiver Note
- Patient Chart Note
- Client Notes that can be seen in the Caregiver App:
- Notes for Other Caregivers
- Patient Family Note
- Caregiver Note
- Client Communications — Send completed documents to any necessary parties via email or fax.
In order to use the fax functionality, we must be signed up for the Billiyo Communications package.
- Diagnosis — Add, view, edit, reorder, and delete a client's diagnosis codes.