Jump To:
How to Access Manual Timesheet Entry
Reviewing and Editing Information
Adding a Schedule
Uploading a Paper Timesheet
EVV Tab
FAQs
How to Access Manual Timesheet Entry
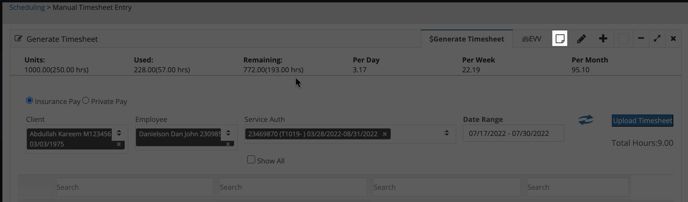
To access this page, head to Scheduling > Manual Timesheet Entry.
By default you will be taken to the $Generate Timesheet tab to be able to add a paper timesheet into the system.

Reviewing and Editing Information
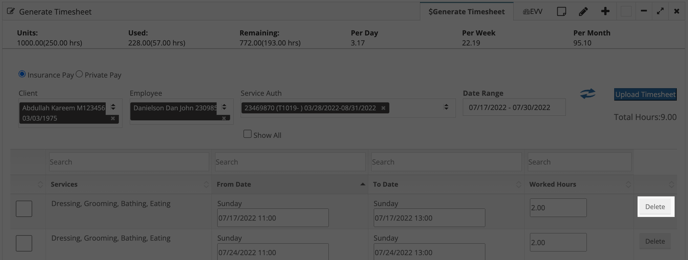
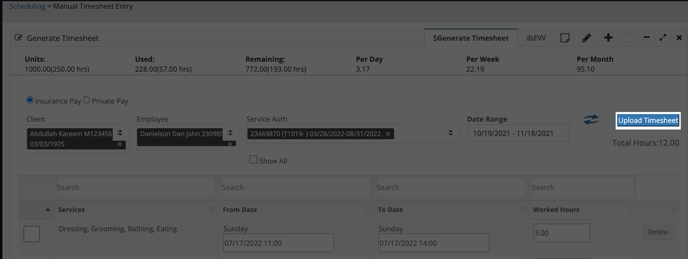
Use the filter fields to locate specific shifts to review, make sure to click the blue refresh arrows after filling out the filter fields. After selecting the client, the option to select the employee and Service Auth will appear.
If the Service Auth (SA) has expired, make sure to check the Show All checkbox to be able to select the expired SA.

For each schedule, the worked dates and times can be edited. The Worked Hours field will auto populate based on the selections made in the date fields, but you can also edit the Worked Hours field directly — doing so will add/remove the time to the To Date time.
If a shift needs to be deleted, it can be done from this screen by clicking on the Delete button.
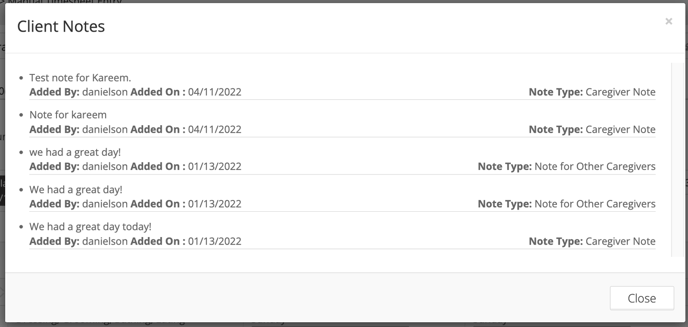
In the top right corner of the screen there is an icon that looks like a piece of paper with a folded corner. This can be used to review any client notes.
Here is an example of what the client notes pop-up will look like.
Adding a Schedule
If you need to add a schedule into the system that’s on the paper timesheet, instead of going to the scheduling page you can do so from the manual timesheet entry page!
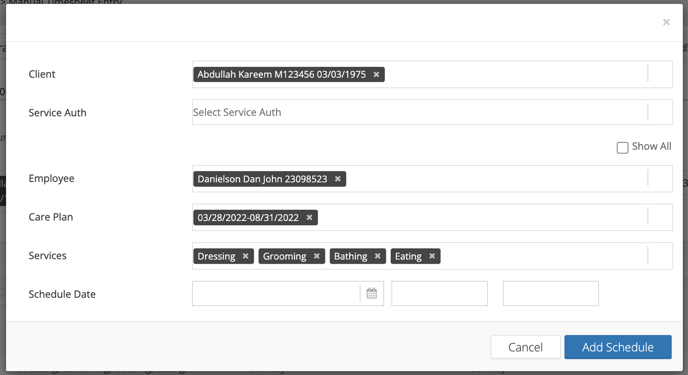
To add a schedule, click on the + sign towards the top right corner of the screen.

On the pop-up that appears, select the service authorization and schedule dates/times. Any information on this pop-up can be edited. To remove a selection click on the x next to it.
Click on the Show All checkbox to be able to select an expired Service Auth (SA).
To save, click on the Add Schedule button.
Uploading a Paper Timesheet
The filter fields on this page are very important as the checkboxes on this page do not have functionality!
Once you’ve filtered for the schedules on the timesheet, and reviewed each schedule, it’s time to add the paper timesheet. To do so, click on the Upload Timesheet button towards the upper right corner.
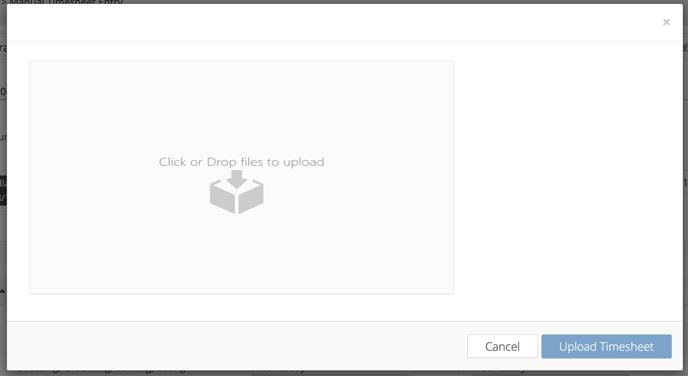
A pop-up window will appear, click on the Click or Drop files to upload field to select the timesheet file from your device. Then, click on the Upload Timesheet button.
Only a month’s worth of schedules are able to be submitted per timesheet.
EVV Tab
In the top right corner, there will be a tab for EVV. Clicking on this tab, select the client’s name and date range to filter for — clicking on the blue arrows to refresh the data.
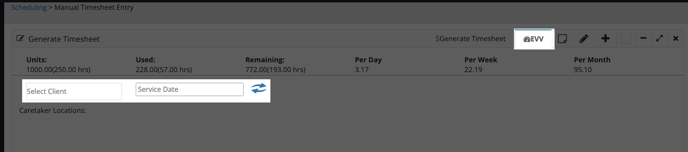
On the map, any EVV schedules that have been clocked in/out for will be marked. For the pinned location the employee’s name and schedule dates/times will appear. Using the + and - signs on the top left of the map will allow you to zoom in or out.
FAQs
Q. What is the pencil icon in the top right used for?
A. Previously this was used to be able to edit schedules, before the “From Date”, “To Date” and “Worked Hours” fields were added to each schedule line.
