To enable a new payer Billiyo there are two steps that we need to take:
1. Contact your CSM so they can add the new payer into your account
2. Add the payer's procedure codes into your Billiyo account
Contact Your CSM
The first thing we will need to do is get you new payer added into Billiyo. In order to do this, please contact your Customer Success Manager or email our general inbox at: hello@billiyo.com.
When speaking with a Billiyo team member, please tell them the name of the payor you want to add as well as the clearing house that we will be sending claims through.
Please provide your CSM with the
- Name of payer
- Clearing house you'll bill through
Add the Procedure Codes
After the payer is enabled, you can set up the procedure codes that you will be working on their behalf. The information we enter here, like the pay rate, procedure code, and NPI will autofill into the service authorizations that we add.
Add Procedure Code
1. From the Main Menu select CRM > Service Auth > Add NPI/Taxonomy.
2. From the NPI/Taxonomy screen enter the following fields:
- Claim Type (choose Professional, unless skilled nursing)
- Payor*
- Procedure Service Code*
- Modifier Code (if necessary)
- EIN
- NPI*
- If you are entering a new NPI number, please hit the blue dots above the field and enter your NPI and hit save. You will then be able to pull in the NPI.
- This can be your UMPI number as well
- Taxonomy
- Rates*
- Billing Provider*
- Rendering Provider (use only for Waiver Services)
- Rendering Provider Name (use only for Waiver Services)
* Required fields
 3. Click Save.
4. The View NPI/Taxonomy screen will appear.
View/Edit Payer Procedure Code
1. From the Main Menu select CRM > Service Auth > View NPI/Taxonomy.
2. Filter using the top search bars.
3. Select ![]() to Edit
to Edit
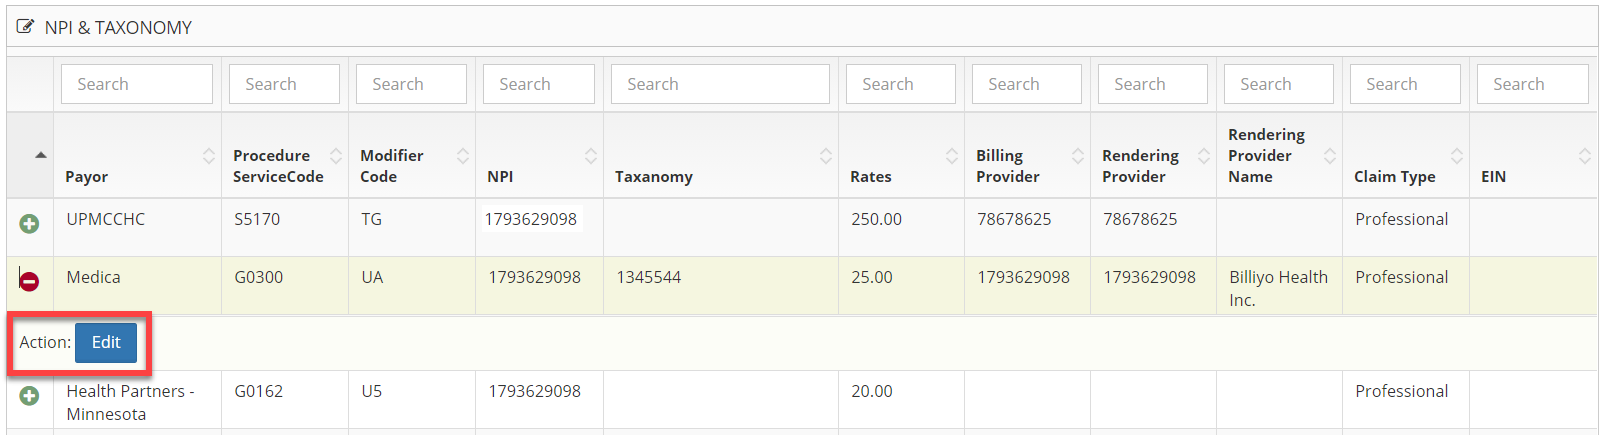
4. NPI & Taxonomy display appears, make any changes and select the SAVE button.