Once you have a caregiver connection, a service authorization and a care plan you are ready to create schedules.
Head on over to the scheduling page to get started.
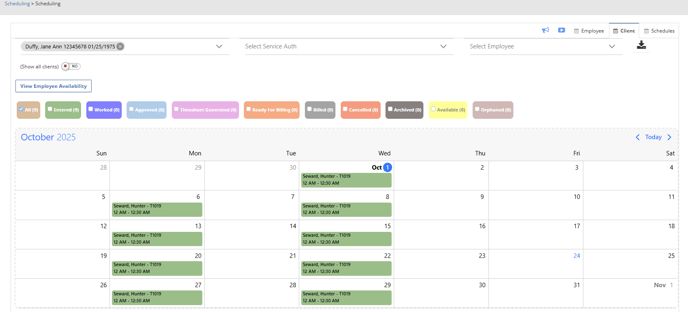
Navigation: Scheduling > Scheduling
By default the scheduling tab that you will land on is the client schedule.
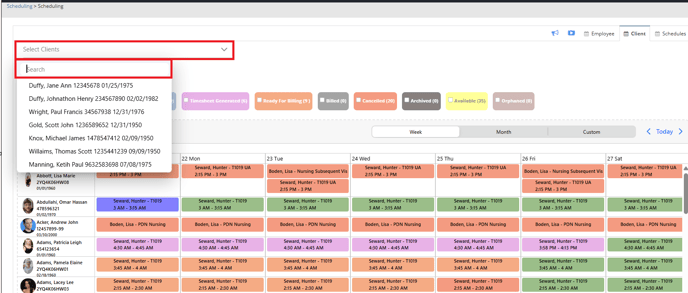
Select the client that you will be working with.
You can type the name of the client in the search bar.
Once you have selected your client, click on the first day of the calendar for which you would like to build your schedule.
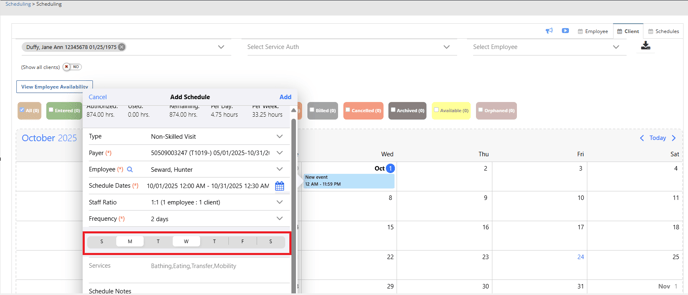
A pop up will appear. 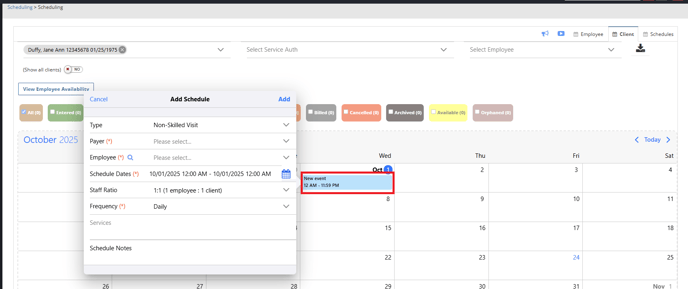
- Skilled or Non skilled visit
- Payer
- Employee
- Schedule dates from and to
- Staff ratio
- Frequency
- Schedule notes (optional)
If you are missing a care plan you will see a message: No care plan found and you will not be able to create a schedule.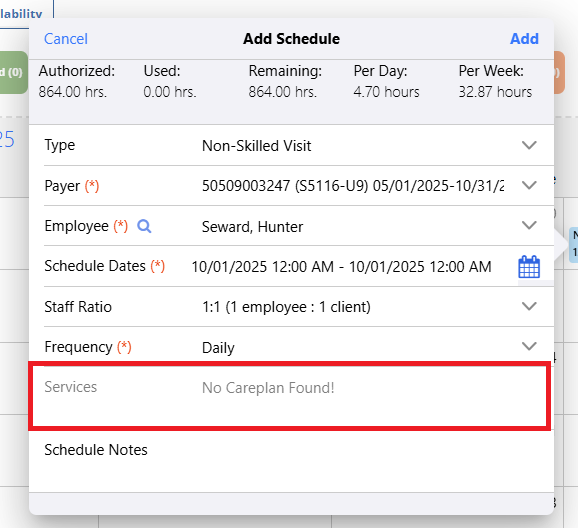
To learn more about care plans, please visit out page: Add/View/Edit a Care Plan through the Billiyo URL (Portal)
Once you have a care plan, you will see services appear in the services box, once you have added your payer and employee.

Now you are ready to choose the Schedule Dates.
Click on the ![]() .
.
A pop up will appear.
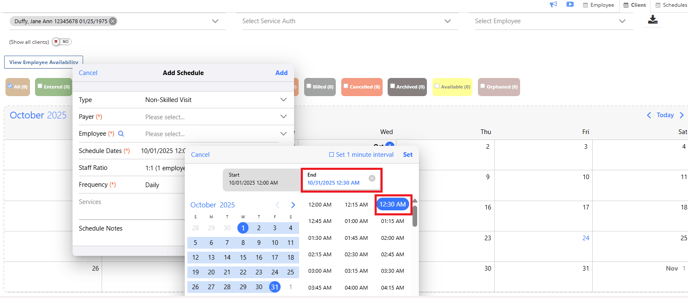
Choose your start date and time.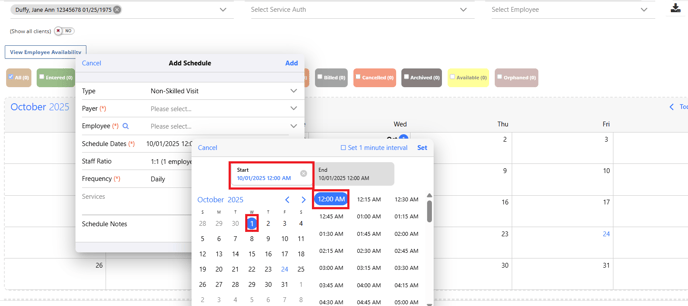
Then click on the gray end box to choose your end date and time.
You can schedule out as far as your service authorization allows.
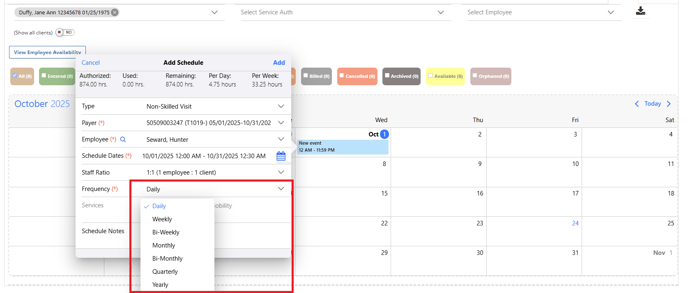
Next choose your frequency.
If you choose 2 days, 3 days, 4 days, 5 days, 6 days, you will need to choose the days of the week that you would like your schedule to be built for. 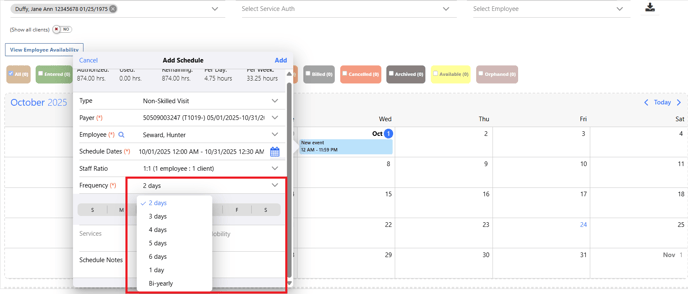
Now click ![]() .
.
Your schedule is now built.