![LOGO BLUE.png]](https://knowledge.billiyo.com/hs-fs/hubfs/LOGO%20BLUE.png?height=40&name=LOGO%20BLUE.png)
How to Access Your Client/Patient Onboarding URL and QR code
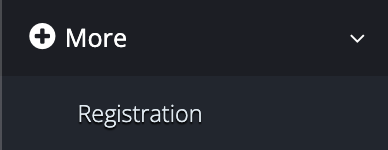
In the left menu, navigate to:
In the Client Onboarding URL section, your employee application link can be found. To save this link, please use the blue copy button.

Do not highlight and copy this link, for the best result please use the blue copy button.
After copying the Client Onboarding URL, you can share the link with potential employees for them to fill out — via email or by adding it to your website, for example.
QR Code is also accessed here.
Click to Download QR Code.

Note: It's a one-time download. The QR code is generated based on the agency, so each agency has a different QR code.
Application Steps
Step 1
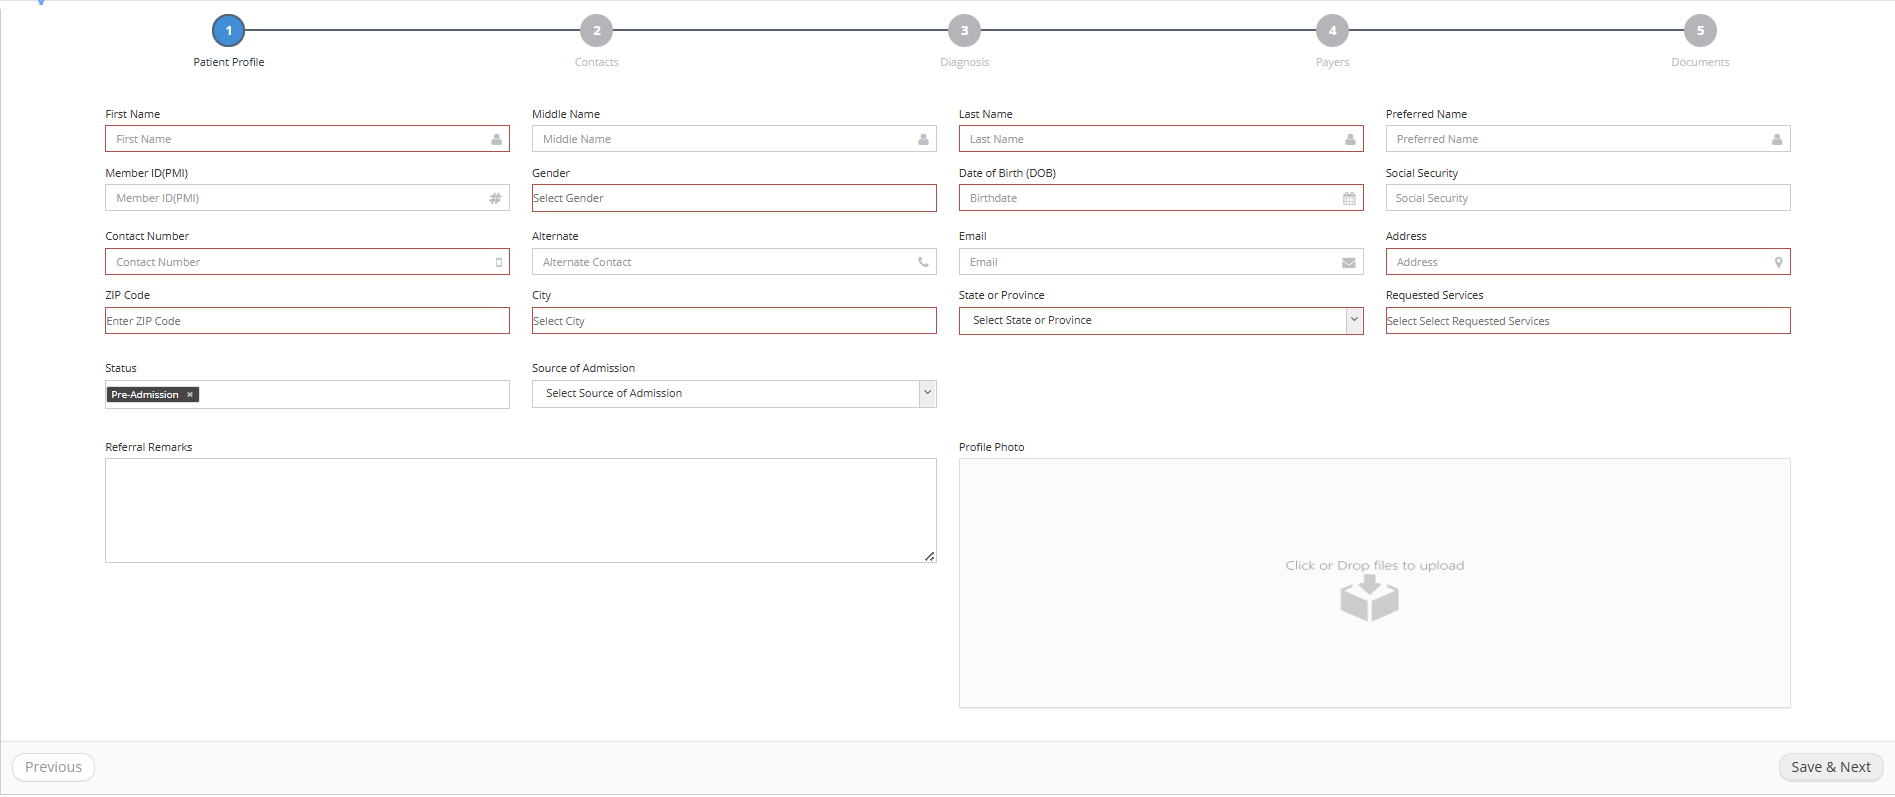
Complete the Patient Profile
Click Save and next to see the required fields highlighted with a red text box.
Step 2
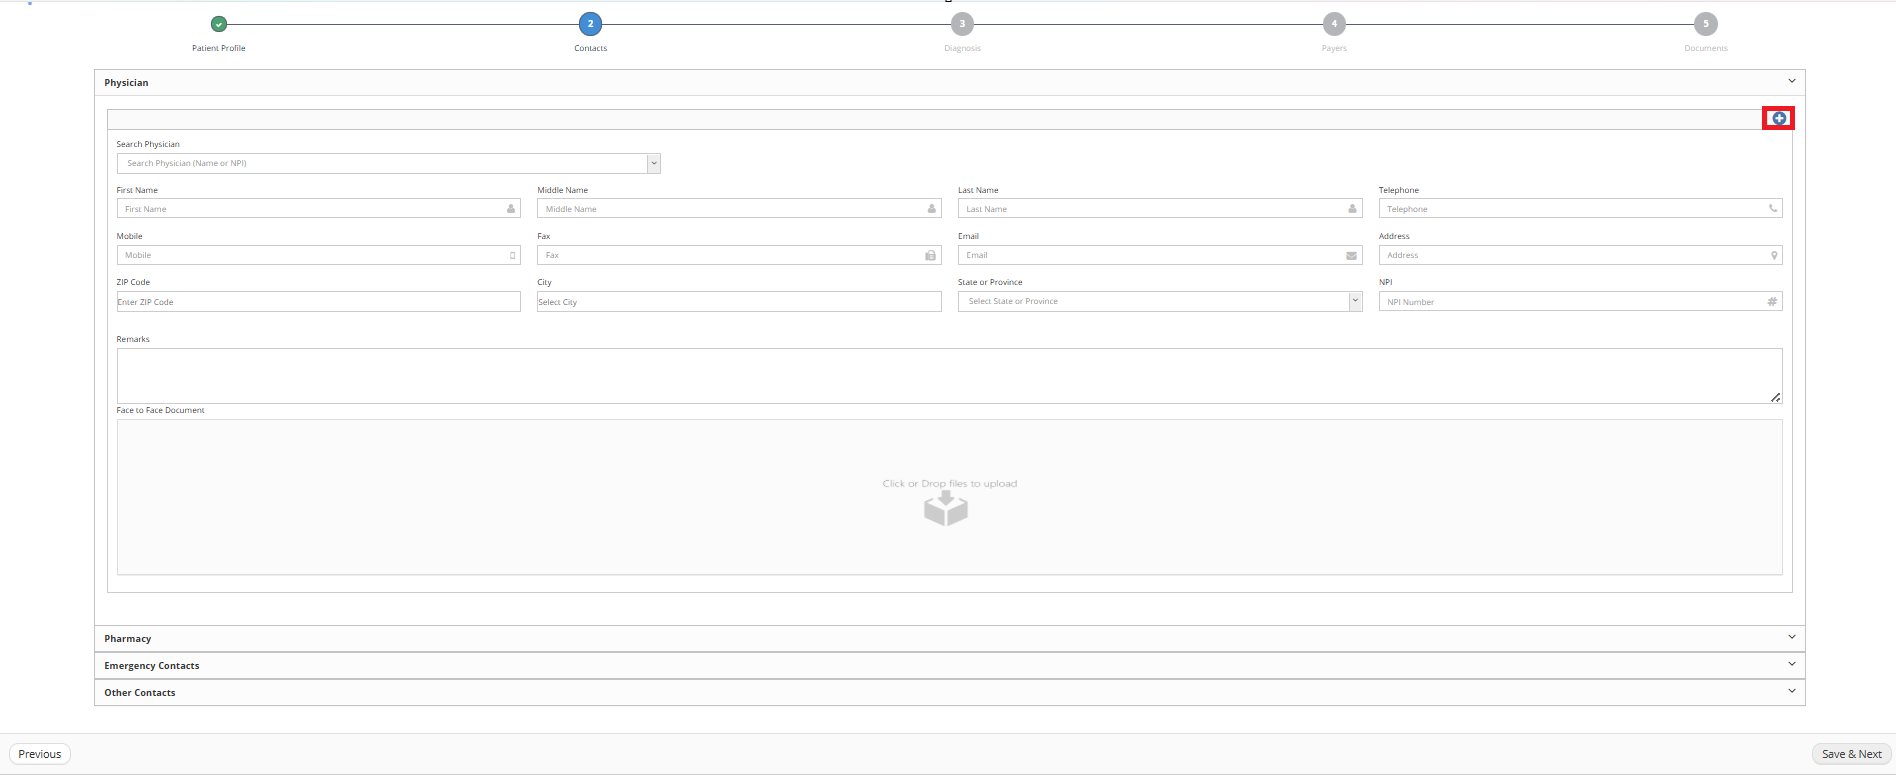
Clicking on the + sign allows for additional contacts to be added.
Step 3
Clicking on the Add Button to Add each diagnosis.

Step 4
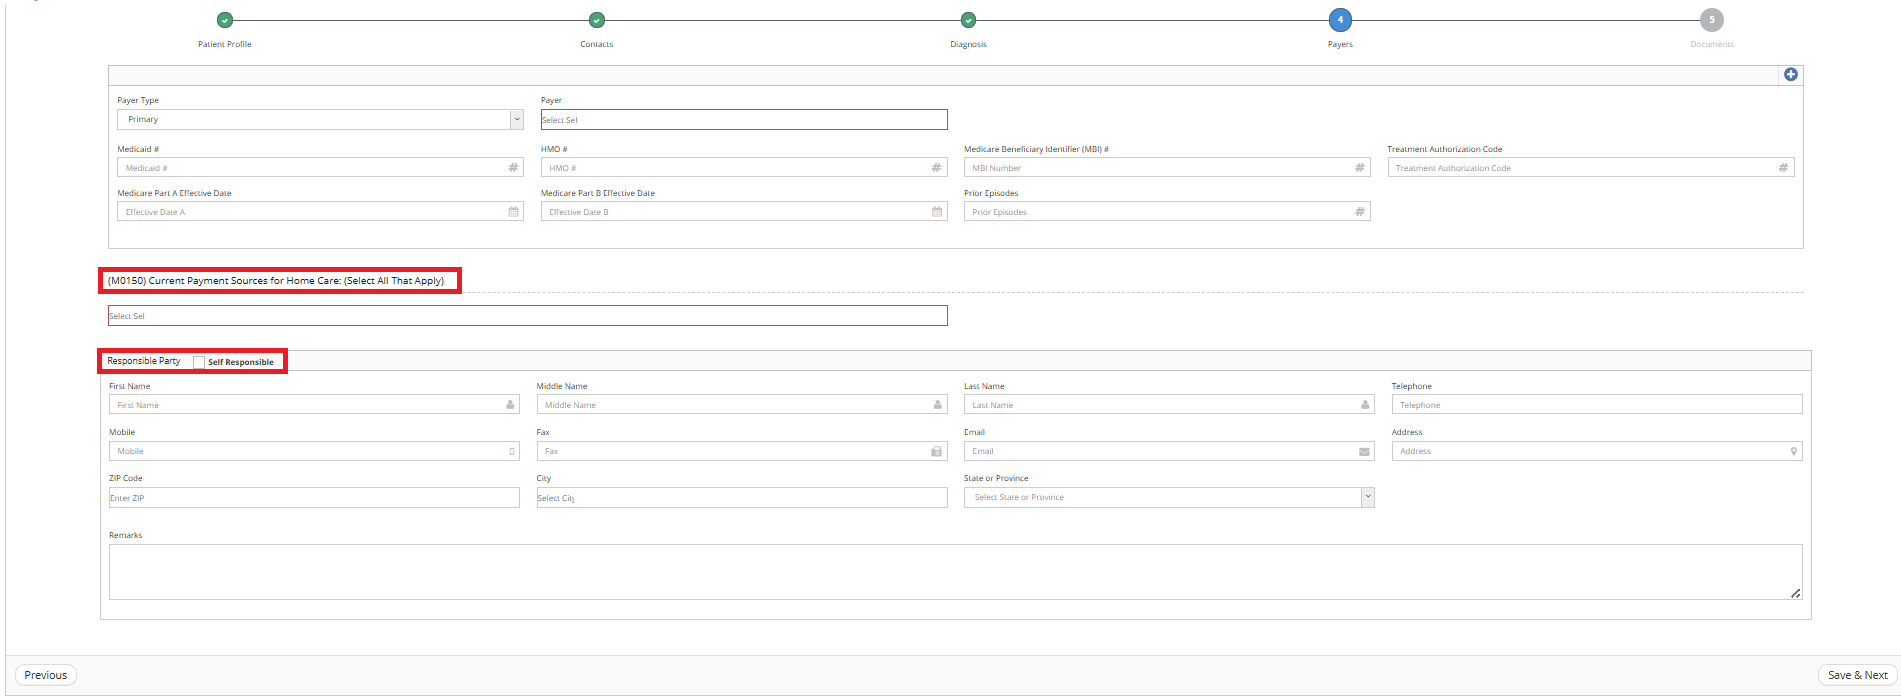
Be Sure to Complete the Current Payment Source and Responsible Party Information.
Step 5
Be sure to select your document type from the drop down and click the Add Button to Add each document. 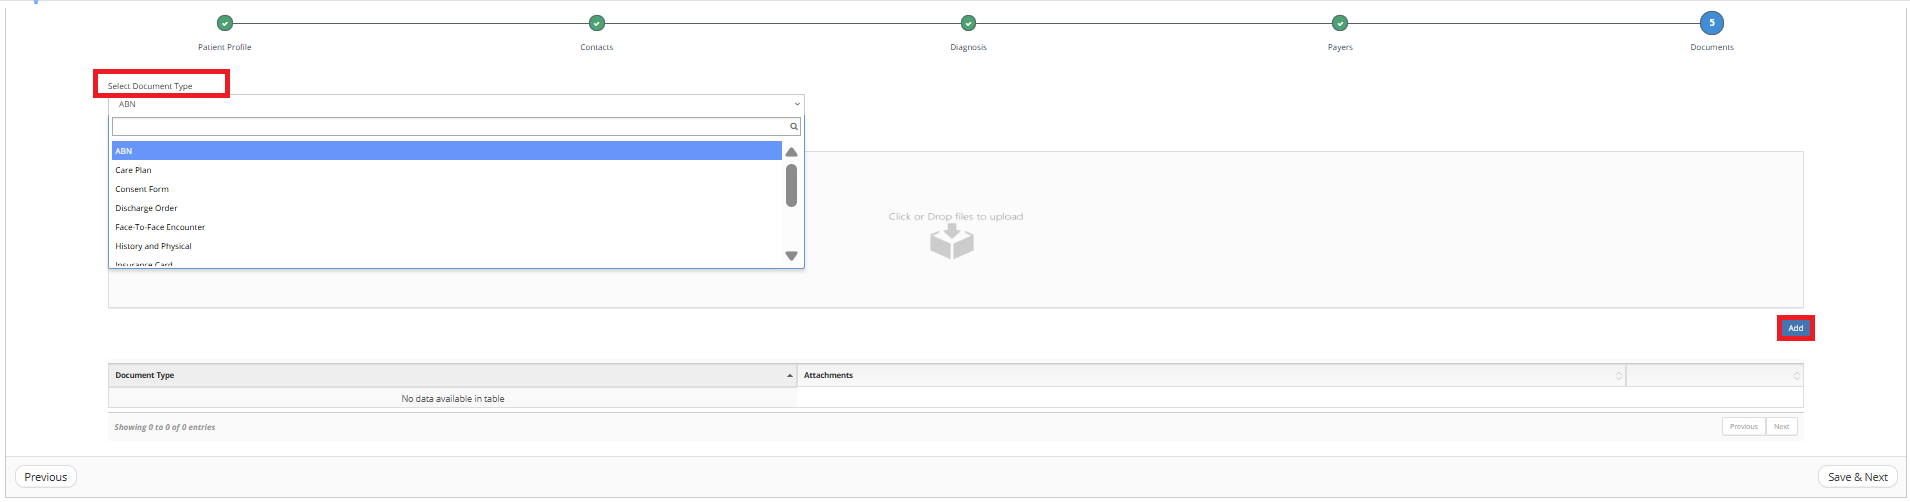
Reviewing Submissions
Once a potential client/patient has submitted their information via the client onboarding URL, or QR code they will be added within your Billiyo account — in an Onboarding status.
To review the information that was submitted, in the left menu navigate to:
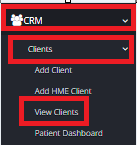
On the screen that appears, change the status filter to Pre-Admission and refresh the results.

To view the potential client's information, click on the Action Button and then View Client.

Activating a Client
If you decide to take on the Client, make sure to change them to an active status.
Click on Edit Client Info.
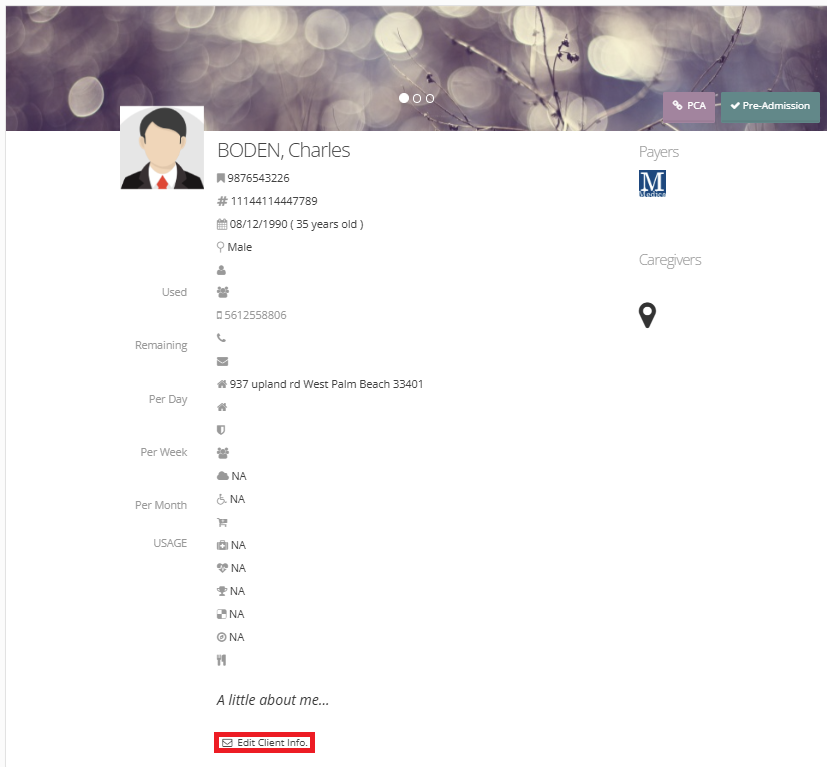
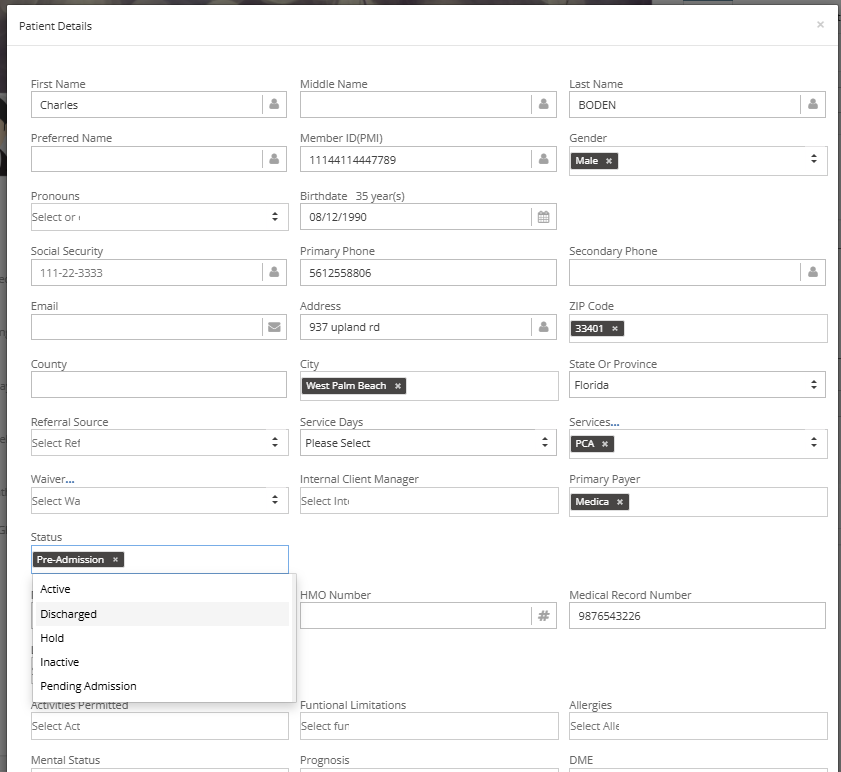
Click on the Save button at the bottom of the pop-up to save your changes.
For Skilled Agencies, you will want to take these actions from the Patient Dashboard.
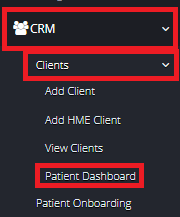
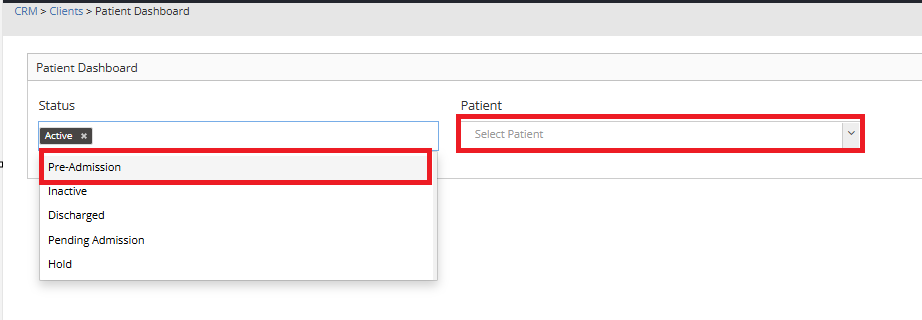
Change the status to Pre-Admission and search for your patient.
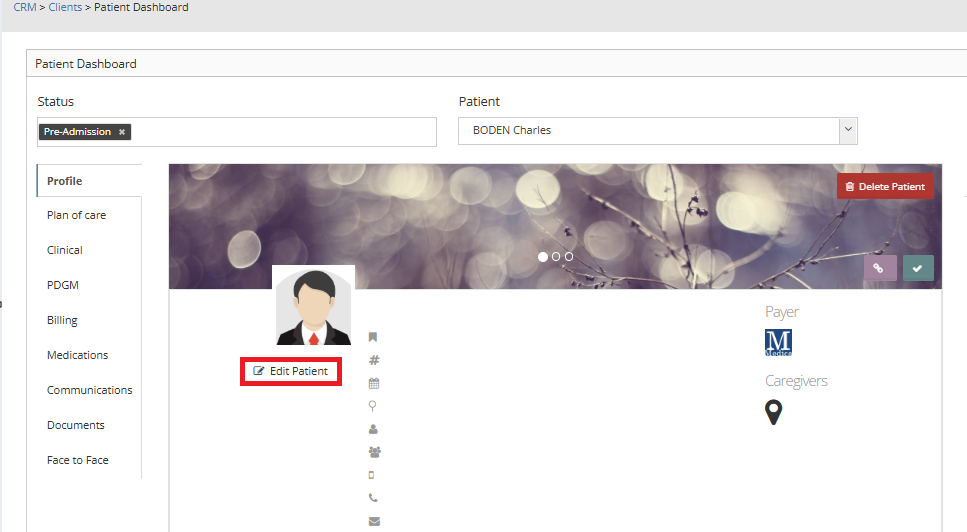
Click on Edit Patient.
Change the status to Pending Admission.
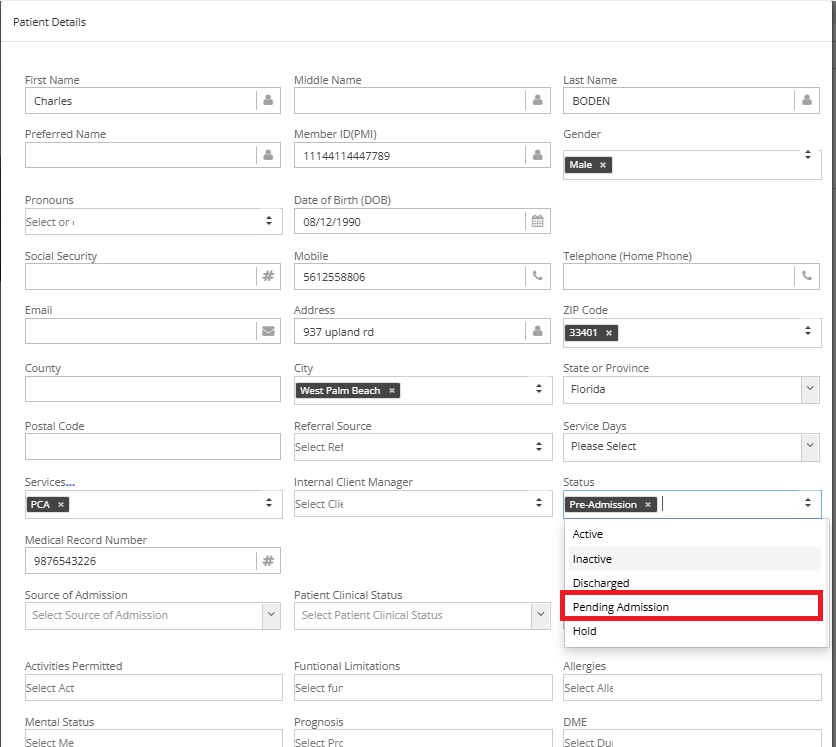
Don't forget to click Save.
In this status you can schedule Start of Care and Evaluations.
Once the Start of care is complete, come back to this page and change the patient status to Active so that you can schedule your subsequent visits.