Navigation:
Overview:
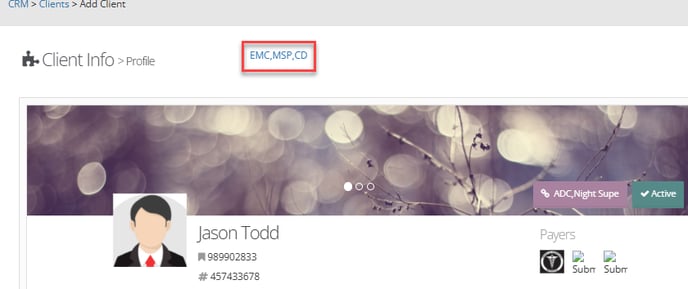
In the client profile, we can see a list of "short codes":
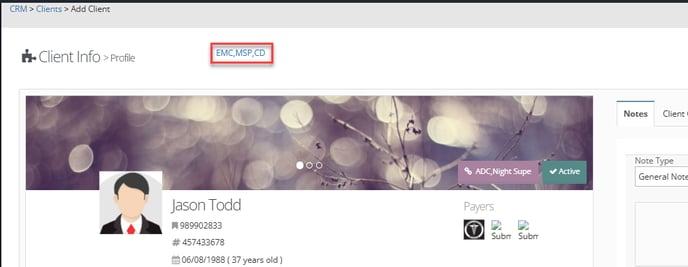
The short codes we see here indicate documents that the client has not filled out.
To check documents off of this list, we can click on the check list and then tick off the documents that have been completed. This will remove the document's short code from the top of the client's profile.
To configure the documents taht appear in thi checklist, we will use the company settings page.
To add documents to this list, we can use the blue![]() icon to the top right of the page.
icon to the top right of the page.
If you cannot find the item you want to add, please contact your CSM
To remove a document from the check list we can use the blue ![]() trashcan icon.
trashcan icon.
Set Up The Client Checklist
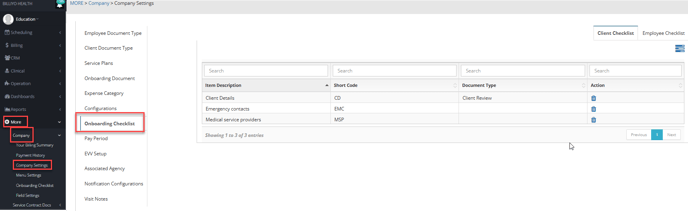
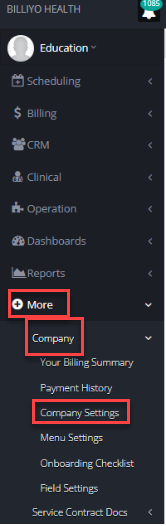
To set up the client check list will need to navigate through More > Company > Company Settings
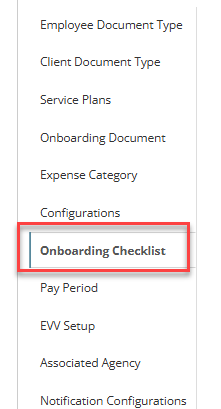
Then, in the new page that loads up, click into the "Onboarding Checklist" Tab
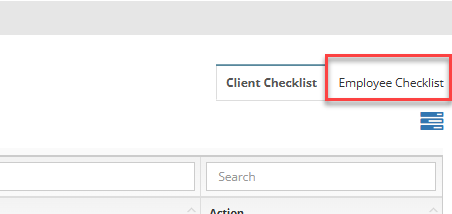
The "Employee Checklist" tab is still under construction. More information will be released for it soon.
In the new page that loads, we can see the documents that are included in your checklist.
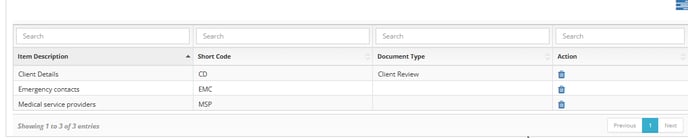
- Item Description - This is the name of the checklist item.
- This name will appear in the checklist panel.
- This name will appear in the checklist panel.
- Short Code - This is the abbreviation that appears at the top of the client's profile
- Document Type - This is the document name for the form that is attached to the checklist item
- Document names are pulled from the Generate Documents page.
Add/Remove Documents
To add a document to the checklist, click the blue![]() icon to the top right of the page. In the pop up that appears, you can select the items you would like to add to the checklist.
icon to the top right of the page. In the pop up that appears, you can select the items you would like to add to the checklist.
If you are unable to see the item you want, please contact your Customer Success Manager.
To remove a document from this check list we can simply click on the trashcan icon.
Manage Checklist in Client Profile
To manage this checklist for one of your clients, can use the client profile.
Click here to learn how to navigate to the client profile!
After loading up a client's profile, you will see blue text at the top of the page. This text shows the short codes of the documents that have not been completed for a client.

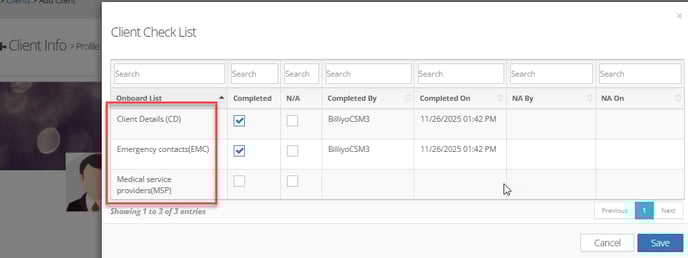
In order to mark off these documents, we can click on the blue text to open up the client's checklist. Here we can see all the documents that are in a check list.
 In the check list, we can see that each checklist item receives its own row. Next to document name there are two columns for "Completed" and "NA" documents. These two columns have interactive checkboxes.

- For documents that have been completed, please tick off the "completed" box.
- For documents that are not applicable to the client, we can select "N/A"
- For documents that have not been completed yet, please leave the check box blank.
The documents that are marked as "Completed" or "N/A" will dissapear from the client profile.
If you go back to the checklist, and uncheck a document, then it will be returned to the client's profile.
When every item in the check list is marked off, then the item short codes will be replaced by text that reads: "Onboarding Checklist"
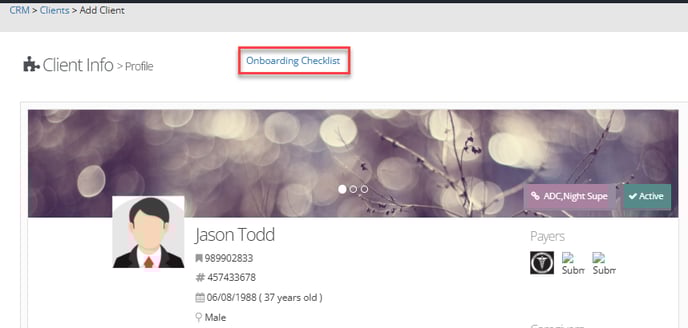
To pull up the spreadsheet again, simply click on the blue text.